PR この記事には広告(アフィリエイトリンク)が含まれています。 詳細
VSCodeでSrpingBootプロジェクトを動かそう
みんな大好きSpringBoot
連日、VSCodeを使ったJava関連の開発環境構築の記事をご紹介していますが、今回はSpringBootプロジェクトをVSCode上で動かすための設定をご紹介しようと思います。
Javaはこちら
VSCodeでJavaを動かすための記事もご紹介していますので、合わせて参考にしていただければなと思います。
 関連記事
【グッバイEclipse】VSCodeでJavaの開発環境を構築するための設定方法【import保管やデバッグ確認まで出来ちゃう】
IT
Java
Mac
Windows
アプリケーション
関連記事
【グッバイEclipse】VSCodeでJavaの開発環境を構築するための設定方法【import保管やデバッグ確認まで出来ちゃう】
IT
Java
Mac
Windows
アプリケーションGradleはこちら
VSCodeでGradleを動かすための記事もご紹介していますので、合わせて参考にしていただければなと思います。
 関連記事
【グッバイIntellij】VSCodeでGradleプロジェクトを動かす方法【.classpathが重要】
IT
Homebrew
Java
Mac
Windows
関連記事
【グッバイIntellij】VSCodeでGradleプロジェクトを動かす方法【.classpathが重要】
IT
Homebrew
Java
Mac
Windows手順
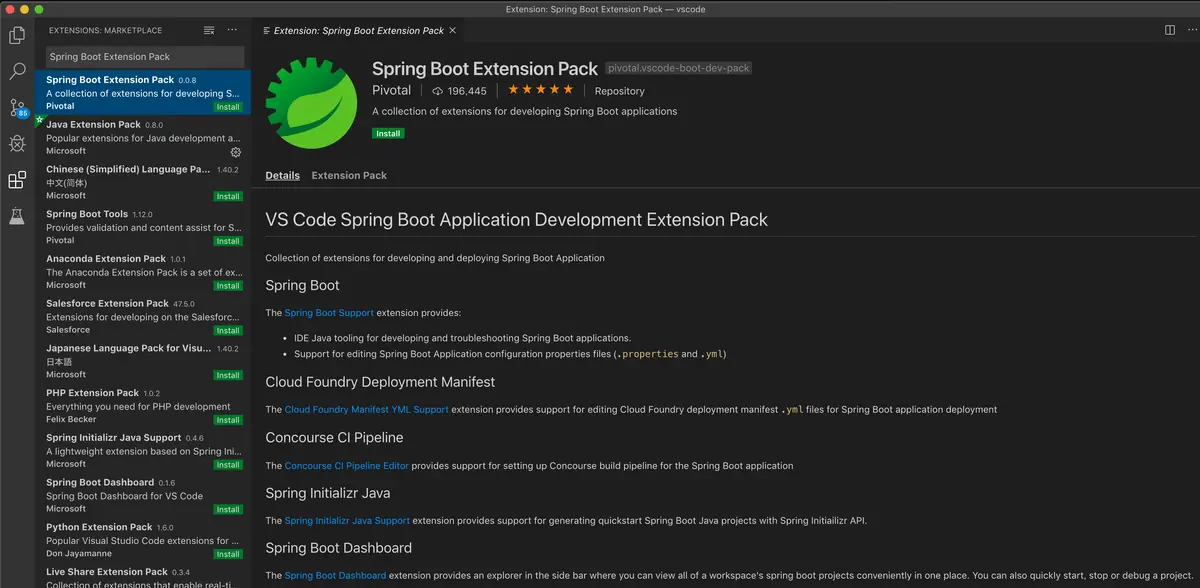
Spring Boot Extension Pack
まずはSpring Boot Extension Packをインストールしてください。
プロジェクトの作成
次に、インストールしたプラグインを使ってSpringBootのプロジェクトを作成してみましょう。
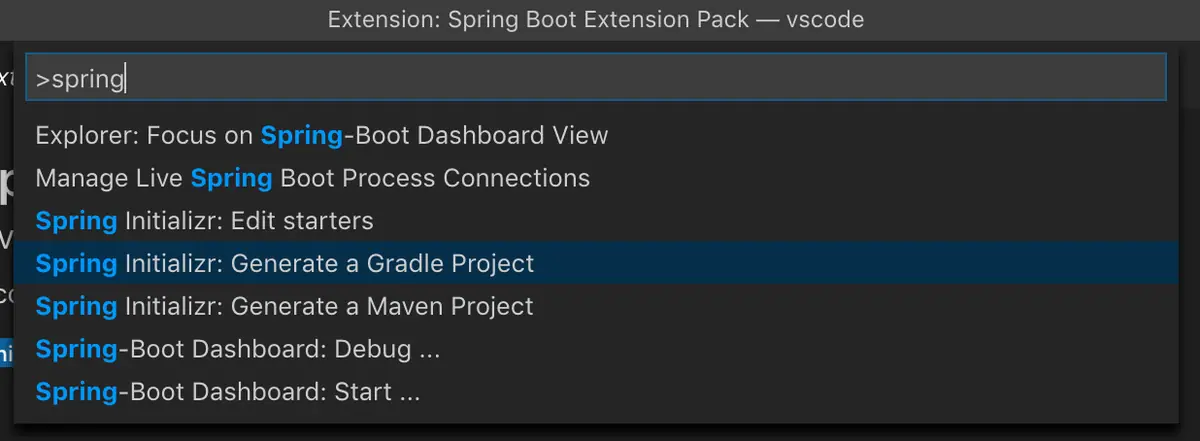
Ctrl+Shift+Pでコマンドパレットを開き、springと入力すると関連するタスクが表示されるので、Spring Initializer: Generate a Gradle Projectを選択します。
あとは対話式でアークテクチャーや依存ライブラリを求められるので、よしなに設定してください。



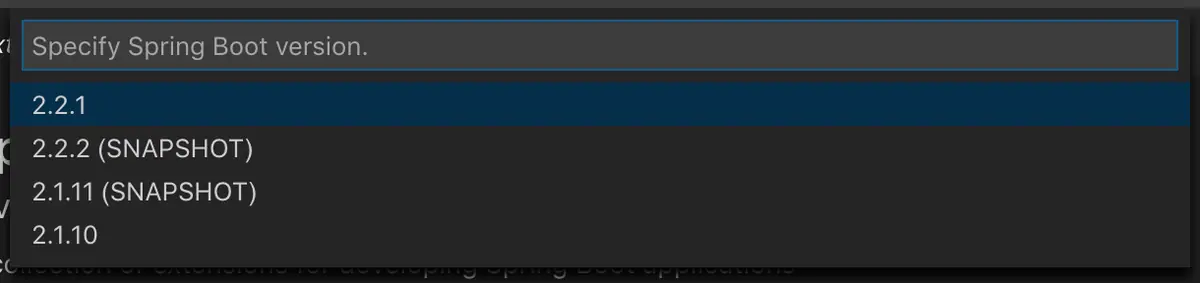
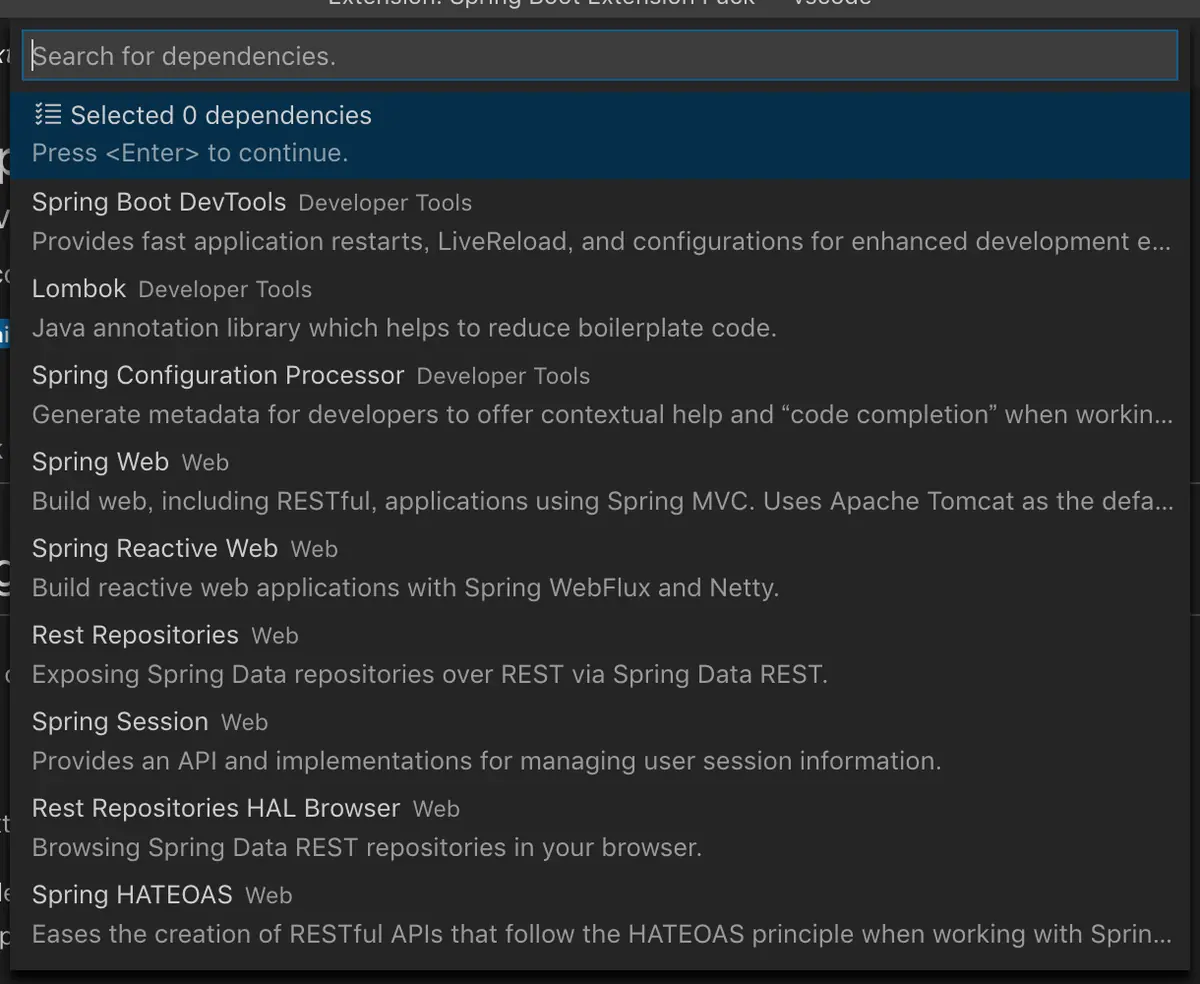
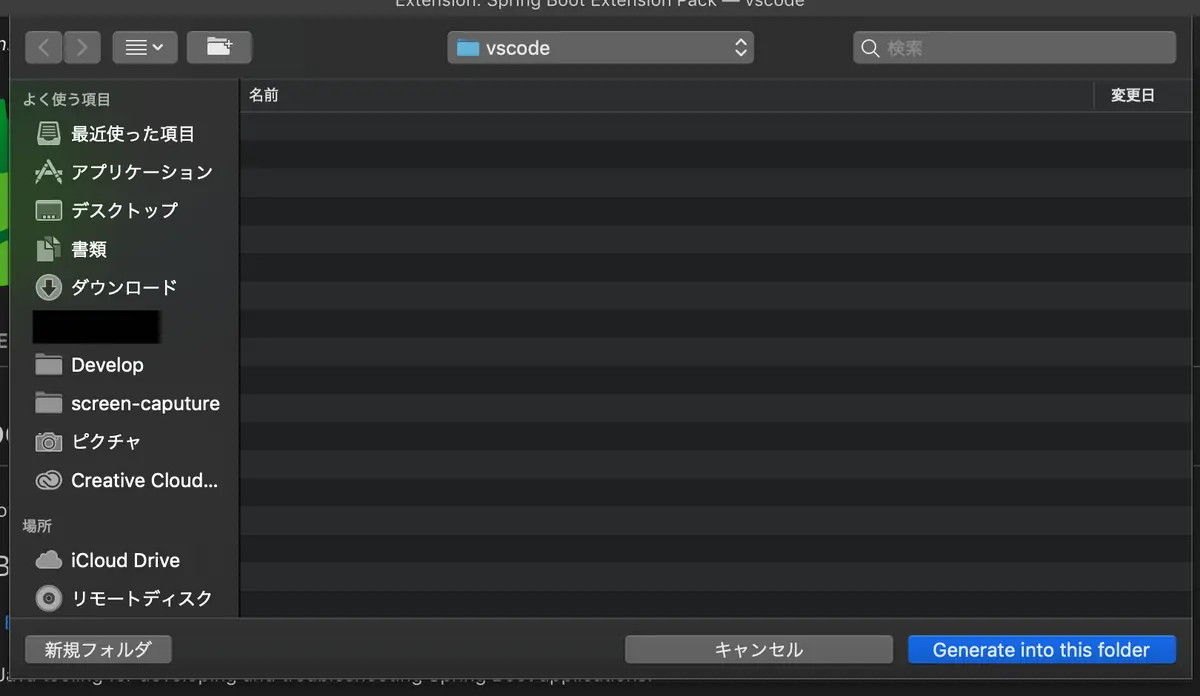
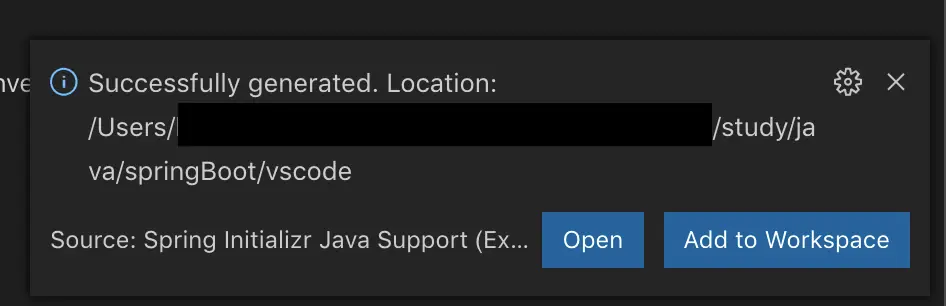
以下のトーストが表示されれば、作成は完了です。
確認
プロジェクトの作成が完了すると、以下のようなディレクトリ構造が生成されると思います。
.
└── sample
    ├── HELP.md
    ├── build.gradle
    ├── gradle
    │   └── wrapper
    │       ├── gradle-wrapper.jar
    │       └── gradle-wrapper.properties
    ├── gradlew
    ├── gradlew.bat
    ├── settings.gradle
    └── src
        ├── main
        │   ├── java
        │   │   └── com
        │   │       └── blogenist
        │   │           └── sample
        │   │               └── DemoApplication.java
        │   └── resources
        │       ├── application.properties
        │       ├── static
        │       └── templates
        └── test
            └── java
                └── com
                    └── blogenist
                        └── sample
                            └── DemoApplicationTests.java
デバッグ起動
com.blogenist.sample.DemoApplication.javaを開いてF5キーを押すと、launch.jsonが生成されます。
{
    // Use IntelliSense to learn about possible attributes.
    // Hover to view descriptions of existing attributes.
    // For more information, visit: https://go.microsoft.com/fwlink/?linkid=830387
    "version": "0.2.0",
    "configurations": [
        {
            "type": "java",
            "name": "Debug (Launch) - Current File",
            "request": "launch",
            "mainClass": "${file}"
        },
        {
            "type": "java",
            "name": "Debug (Launch)-DemoApplication<sample>",
            "request": "launch",
            "mainClass": "com.blogenist.sample.DemoApplication",
            "projectName": "sample"
        }
    ]
}
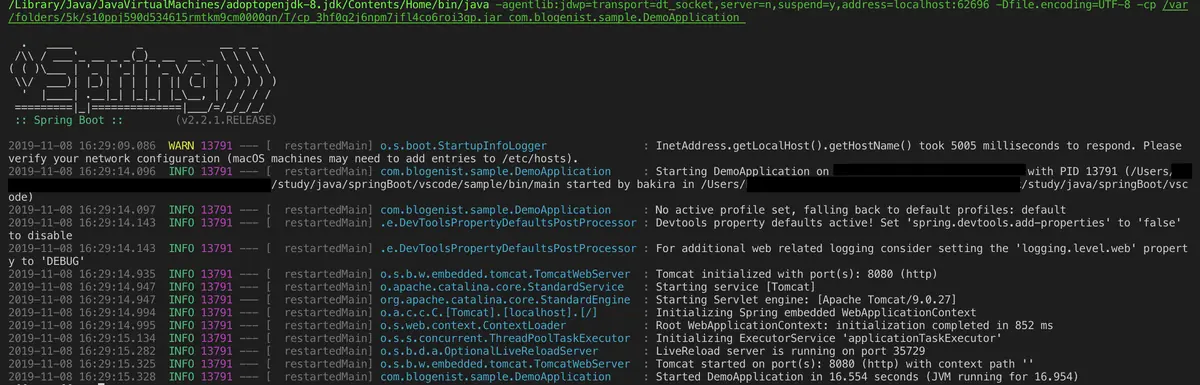
もう一度F5を押すと、SpringBootが実行されます
/Library/Java/JavaVirtualMachines/adoptopenjdk-8.jdk/Contents/Home/bin/java -agentlib:jdwp=transport=dt_socket,server=n,suspend=y,address=localhost:62696 -Dfile.encoding=UTF-8 -cp /var/folders/5k/s10ppj590d534615rmtkm9cm0000gn/T/cp_3hf0q2j6npm7jfl4co6roi3qp.jar com.blogenist.sample.DemoApplication

  .   ____          _            __ _ _
 /\\ / ___'_ __ _ _(_)_ __  __ _ \ \ \ \
( ( )\___ | '_ | '_| | '_ \/ _` | \ \ \ \
 \\/  ___)| |_)| | | | | || (_| |  ) ) ) )
  '  |____| .__|_| |_|_| |_\__, | / / / /
 =========|_|==============|___/=/_/_/_/
 :: Spring Boot ::        (v2.2.1.RELEASE)

2019-11-08 16:29:09.086  WARN 13791 --- [  restartedMain] o.s.boot.StartupInfoLogger               : InetAddress.getLocalHost().getHostName() took 5005 milliseconds to respond. Please verify your network configuration (macOS machines may need to add entries to /etc/hosts).
2019-11-08 16:29:14.096  INFO 13791 --- [  restartedMain] com.blogenist.sample.DemoApplication     : Starting DemoApplication on MacBook-Pro.local with PID 13791 (/Users/blogenist/study/java/springBoot/vscode/sample/bin/main started by blogenist in /Users/blogenist/study/java/springBoot/vscode)
2019-11-08 16:29:14.097  INFO 13791 --- [  restartedMain] com.blogenist.sample.DemoApplication     : No active profile set, falling back to default profiles: default
2019-11-08 16:29:14.143  INFO 13791 --- [  restartedMain] .e.DevToolsPropertyDefaultsPostProcessor : Devtools property defaults active! Set 'spring.devtools.add-properties' to 'false' to disable
2019-11-08 16:29:14.143  INFO 13791 --- [  restartedMain] .e.DevToolsPropertyDefaultsPostProcessor : For additional web related logging consider setting the 'logging.level.web' property to 'DEBUG'
2019-11-08 16:29:14.935  INFO 13791 --- [  restartedMain] o.s.b.w.embedded.tomcat.TomcatWebServer  : Tomcat initialized with port(s): 8080 (http)
2019-11-08 16:29:14.947  INFO 13791 --- [  restartedMain] o.apache.catalina.core.StandardService   : Starting service [Tomcat]
2019-11-08 16:29:14.947  INFO 13791 --- [  restartedMain] org.apache.catalina.core.StandardEngine  : Starting Servlet engine: [Apache Tomcat/9.0.27]
2019-11-08 16:29:14.994  INFO 13791 --- [  restartedMain] o.a.c.c.C.[Tomcat].[localhost].[/]       : Initializing Spring embedded WebApplicationContext
2019-11-08 16:29:14.995  INFO 13791 --- [  restartedMain] o.s.web.context.ContextLoader            : Root WebApplicationContext: initialization completed in 852 ms
2019-11-08 16:29:15.134  INFO 13791 --- [  restartedMain] o.s.s.concurrent.ThreadPoolTaskExecutor  : Initializing ExecutorService 'applicationTaskExecutor'
2019-11-08 16:29:15.282  INFO 13791 --- [  restartedMain] o.s.b.d.a.OptionalLiveReloadServer       : LiveReload server is running on port 35729
2019-11-08 16:29:15.325  INFO 13791 --- [  restartedMain] o.s.b.w.embedded.tomcat.TomcatWebServer  : Tomcat started on port(s): 8080 (http) with context path ''
2019-11-08 16:29:15.328  INFO 13791 --- [  restartedMain] com.blogenist.sample.DemoApplication     : Started DemoApplication in 16.554 seconds (JVM running for 16.954)
確認
リクエスト
無事に起動したのでhttp://localhost:8080 にアクセスしてみましょう。
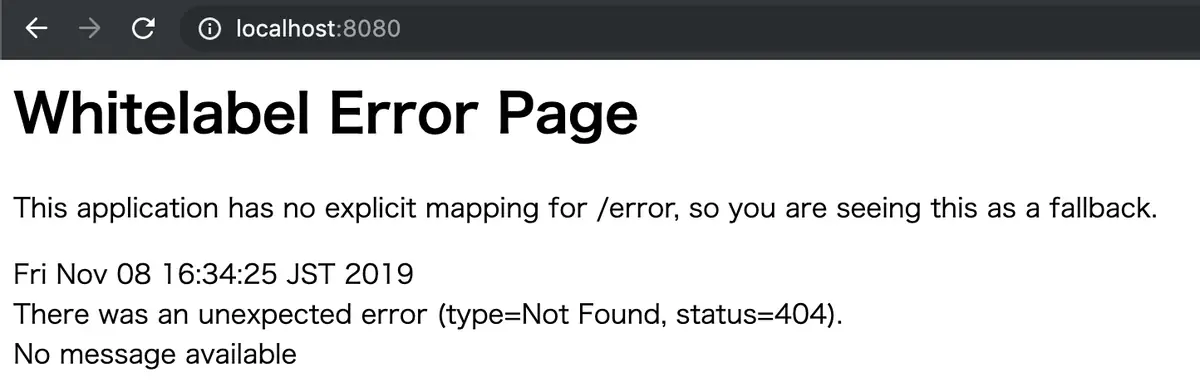
正常に反応しましたね♪
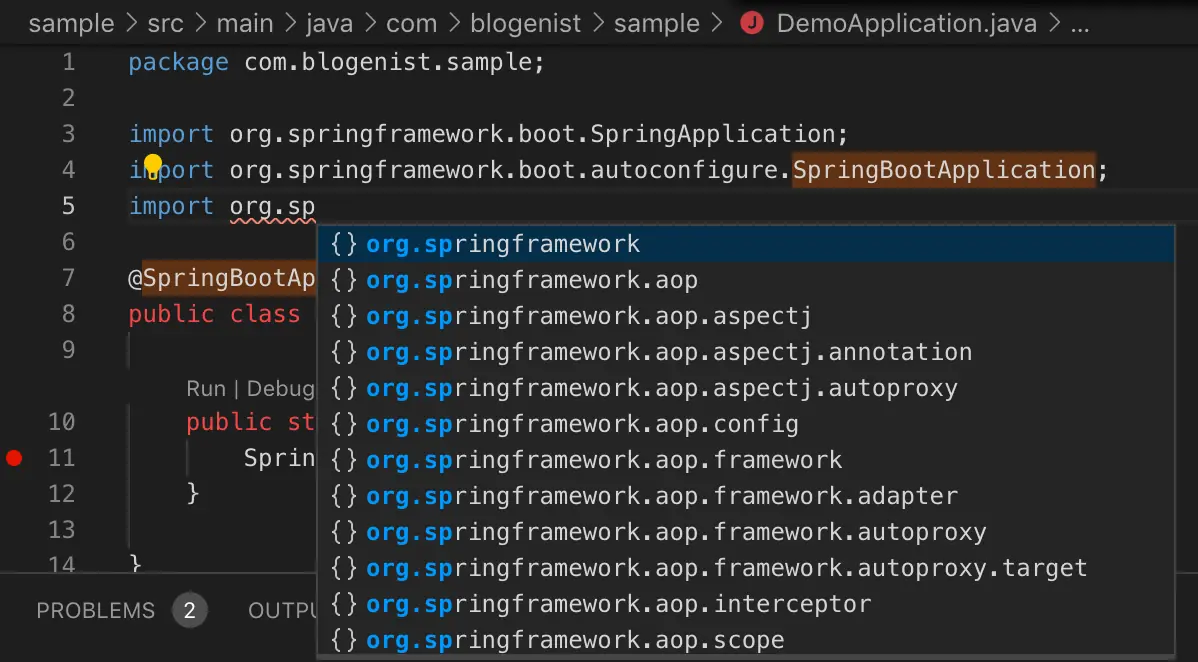
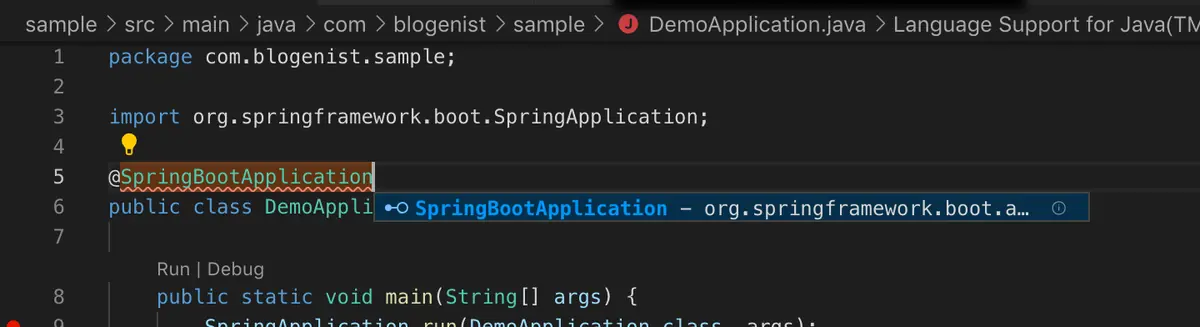
import保管
import保管もバッチリです。
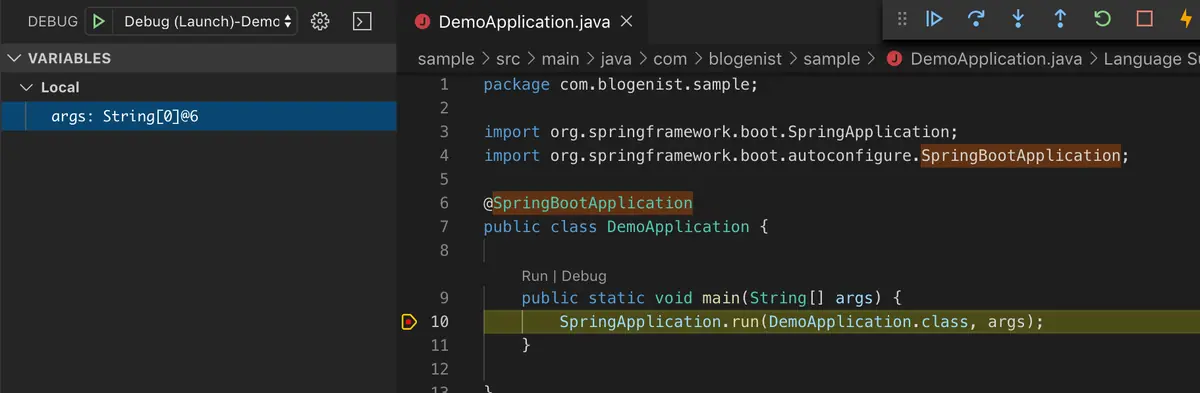
ブレイクポイント
もちろんブレイクポイントも正常に働きます。
ホットリロード
依存関係にorg.springframework.boot:spring-boot-devtoolsを追加していればホットリロードも行われるので、VSCodeでも快適な開発を行う事が出来ます♪
動かない場合
java.homeの設定が終わっていない可能性があるので、前回ご紹介したこちらの記事を参考にjava.homeの設定を行ってみてください。
関連記事
【グッバイEclipse】VSCodeでJavaの開発環境を構築するための設定方法【import保管やデバッグ確認まで出来ちゃう】
IT
Java
Mac
Windows
アプリケーション終わりに
以上のようにVSCode単体でSpringBootプロジェクトの作成からデバッグ起動まで行う事が出来ました。
IDEを使わずにSpringBootの開発が出来るのは魅力的だと思うので、ぜひ試してみてください♪