Anker PowerCor
旅行には必須の大容量モバイルバッテリー!
【最新機種】GoPro hero11 Black
最新機種でVlogの思い出を撮影しよう!
[ノースフェイス] THE NORTH FACE メンズ アウター マウンテンライトジャケット
防水暴風で耐久性抜群なので旅行で大活躍です!
レッドブル エナジードリンク 250ml×24本
翼を授けよう!
Bauhutte ( バウヒュッテ ) 昇降式 L字デスク ブラック BHD-670H-BK
メインデスクの横に置くのにぴったりなおしゃれな可動式ラック!
MOFT X 【新型 ミニマム版】 iPhone対応 スマホスタンド
Amazon一番人気のスマホスタンド!カード類も収納出来てかさ張らないのでオススメです!
サンディスク microSD 128GB
スマホからSwitchまで使える大容量MicroSDカード!
スポンサーリンク
土台は整ったのでAPIモジュールとして動かそう
前回の記事では、Eclipseプロジェクトとして読み込ませるところまでご紹介しました。
今回はAPIとして動かすような修正を入れていこうと思います。
手順
ライブラリを追加
APIを作成する際には、専用のライブラリが用意されているので、api/src/main/resources/build.gradleに以下の依存関係を追加しましょう。
|
1 2 3 4 5 |
... dependencies { implementation "org.springframework.boot:spring-boot-starter-web:${accountService.springBootVersion}" // 追加 } ... |
あとは起動するだけで必要なライブラリをダウンロードした上でAPIシステムとしてサーバーが起動します。
|
1 2 3 4 5 6 7 8 9 10 11 12 13 14 15 16 17 18 19 20 21 22 23 24 |
> Task :api:bootRun . ____ _ __ _ _ /\\ / ___'_ __ _ _(_)_ __ __ _ \ \ \ \ ( ( )\___ | '_ | '_| | '_ \/ _` | \ \ \ \ \\/ ___)| |_)| | | | | || (_| | ) ) ) ) ' |____| .__|_| |_|_| |_\__, | / / / / =========|_|==============|___/=/_/_/_/ :: Spring Boot :: (v2.1.3.RELEASE) 2019-04-03 18:03:13.260 INFO 4373 --- [ main] t.b.service.account.AccountApplication : Starting AccountApplication on xxx.xxx.xxx.xxx.static.zoot.jp with PID 4373 (/Users/blogenist/develop/git/github/service-account/api/build/classes/java/main started by blogenist in /Users/blogenist/develop/git/github/service-account/api) 2019-04-03 18:03:13.267 INFO 4373 --- [ main] t.b.service.account.AccountApplication : The following profiles are active: common,local 2019-04-03 18:03:14.920 INFO 4373 --- [ main] o.s.b.w.embedded.tomcat.TomcatWebServer : Tomcat initialized with port(s): 8080 (http) 2019-04-03 18:03:14.965 INFO 4373 --- [ main] o.apache.catalina.core.StandardService : Starting service [Tomcat] 2019-04-03 18:03:14.967 INFO 4373 --- [ main] org.apache.catalina.core.StandardEngine : Starting Servlet engine: [Apache Tomcat/9.0.16] 2019-04-03 18:03:14.984 INFO 4373 --- [ main] o.a.catalina.core.AprLifecycleListener : The APR based Apache Tomcat Native library which allows optimal performance in production environments was not found on the java.library.path: [/Users/blogenist/Library/Java/Extensions:/Library/Java/Extensions:/Network/Library/Java/Extensions:/System/Library/Java/Extensions:/usr/lib/java:.] 2019-04-03 18:03:15.109 INFO 4373 --- [ main] o.a.c.c.C.[Tomcat].[localhost].[/] : Initializing Spring embedded WebApplicationContext 2019-04-03 18:03:15.110 INFO 4373 --- [ main] o.s.web.context.ContextLoader : Root WebApplicationContext: initialization completed in 1779 ms 2019-04-03 18:03:15.494 INFO 4373 --- [ main] o.s.s.concurrent.ThreadPoolTaskExecutor : Initializing ExecutorService 'applicationTaskExecutor' 2019-04-03 18:03:15.800 INFO 4373 --- [ main] o.s.b.w.embedded.tomcat.TomcatWebServer : Tomcat started on port(s): 8080 (http) with context path '' 2019-04-03 18:03:15.805 INFO 4373 --- [ main] t.b.service.account.AccountApplication : Started AccountApplication in 3.318 seconds (JVM running for 3.763) 2019-04-03 18:03:49.453 INFO 4373 --- [nio-8080-exec-1] o.a.c.c.C.[Tomcat].[localhost].[/] : Initializing Spring DispatcherServlet 'dispatcherServlet' 2019-04-03 18:03:49.453 INFO 4373 --- [nio-8080-exec-1] o.s.web.servlet.DispatcherServlet : Initializing Servlet 'dispatcherServlet' 2019-04-03 18:03:49.459 INFO 4373 --- [nio-8080-exec-1] o.s.web.servlet.DispatcherServlet : Completed initialization in 6 ms |
簡単過ぎて神かよ。
試しにhttp://localhost:8080/ にアクセスしてみましょう。
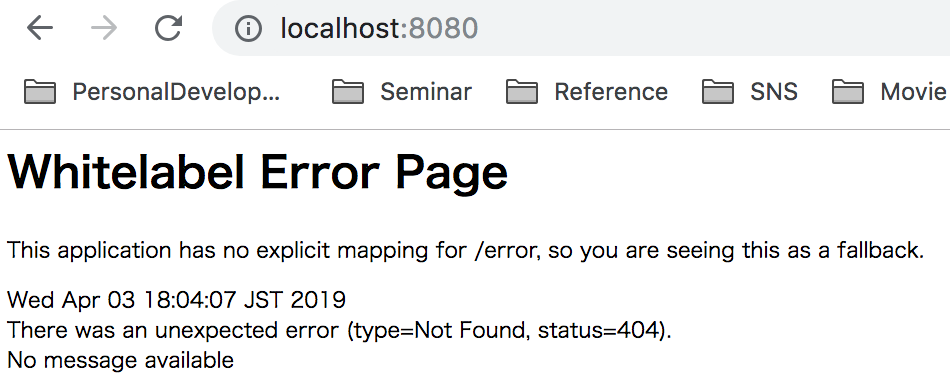
SpringBootはこの辺のお手軽加減がたまりませんよね。。。!
簡単なコントローラーを作ってみる
では、実際にコントローラーを作ってみましょう。
今回はGETリクエストに対してレスポンスを返すミニマムなコントローラーを作ってみます。
|
1 2 3 4 5 6 7 8 9 10 11 12 13 14 15 16 17 18 19 20 21 22 23 24 25 26 27 28 29 30 31 32 33 34 35 36 37 |
package tech.blogenist.service.account.api.controller.account.listing; import java.util.ArrayList; import java.util.HashMap; import java.util.List; import java.util.Map; import java.util.Optional; import org.springframework.http.ResponseEntity; import org.springframework.web.bind.annotation.GetMapping; import org.springframework.web.bind.annotation.RequestMapping; import org.springframework.web.bind.annotation.RestController; @RestController @RequestMapping( "/accounts" ) public class AccountListingController { @GetMapping(path="/") public ResponseEntity<Object> listing() { List<Map<String,Object>> responseList = new ArrayList<>(); Map<String, Object> taroMapData = new HashMap<>(); taroMapData.put("id", 101); taroMapData.put("name", "Taro"); taroMapData.put("age", 20); responseList.add(taroMapData); Map<String, Object> jiroMapData = new HashMap<>(); taroMapData.put("id", 102); jiroMapData.put("name", "Jiro"); jiroMapData.put("age", 18); responseList.add(jiroMapData); return ResponseEntity.of(Optional.of(responseList)); } } |
この状態でサーバーを起動してhttp://localhost:8080/accounts/ にアクセスしましょう。
以下のようなJsonデータが表示されればOKです。
|
1 2 3 4 5 6 7 8 9 10 |
[ { "name": "Taro", "age": 20 }, { "name": "Jiro", "age": 18 } ] |
オートリロードを有効にする
サーバーを起動した状態でクラスファイル等を編集しても、自動で再読み込みされずに手動で再起動しないと反映されない状態になっています。
ですが、spring-boot-devtoolsを依存関係に追加することで、ファイルの変更を検知して自動で再起動してくれるようになります。
これはとても便利な機能なのでマストで有効化すべきです!
追加方法はとても簡単です。
追加方法はとても簡単で、api/build.gradleに以下を追記します。
|
1 2 3 4 |
dependencies { implementation "org.springframework.boot:spring-boot-starter-web:${accountService.springBootVersion}" implementation "org.springframework.boot:spring-boot-devtools:${accountService.springBootVersion}" // 追加 } |
では、EclipseでAPIを起動したままファイル内容を変更してみましょう。
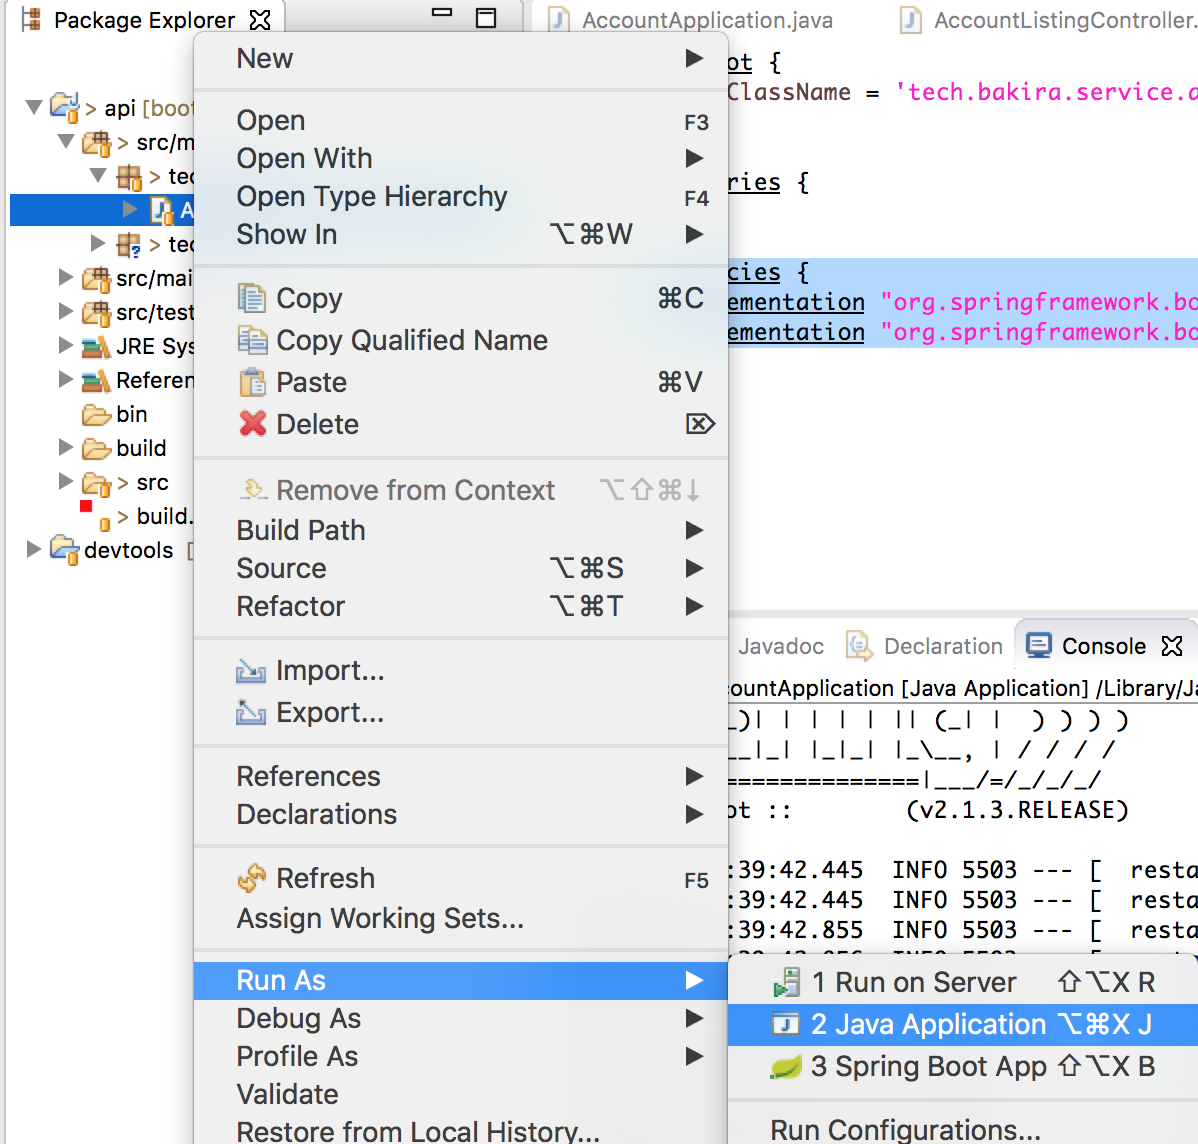
すると以下のように自動で再起動がかかり、変更が反映されるようになります。
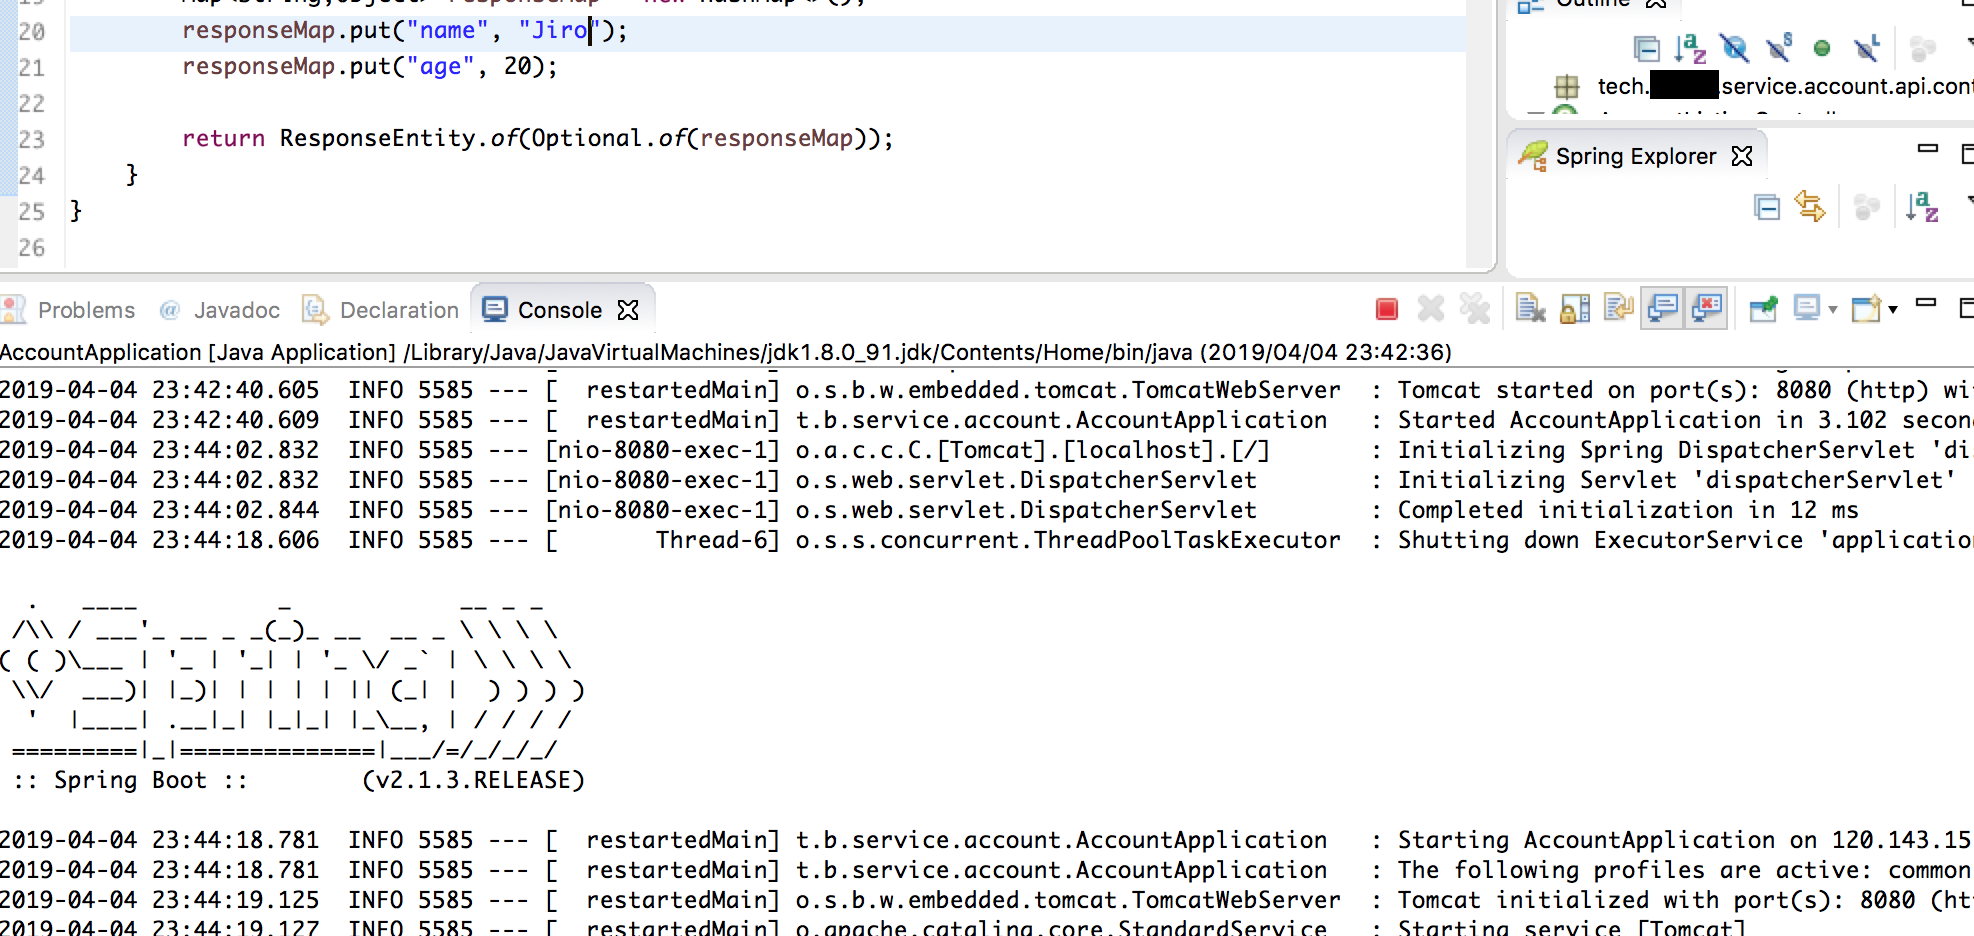
これは非常に便利ですね♪
終わりに
以上のように依存関係を追加するだけで簡単にAPI化かつオートリロード化する事が出来ました。
次はレイヤー構造化をしていこうと思います。

