
PR この記事には広告(アフィリエイトリンク)が含まれています。 詳細
Gif動画の画質が荒い。。。
先日、GiftedとQuickTimePlayerを使ったGif画像の作り方についてご紹介致しました。
 関連記事
【画面操作を簡単録画】QuickTimePlayerとGiftedを使って画面操作を録画してgif画像化する方法【簡単瞬殺】
IT
Gif
Mac
アプリケーション
パソコン
関連記事
【画面操作を簡単録画】QuickTimePlayerとGiftedを使って画面操作を録画してgif画像化する方法【簡単瞬殺】
IT
Gif
Mac
アプリケーション
パソコンしかし、Giftedで作成したGif画像は実際の撮影スピードより早いし、画質もちょっと荒いんですよね。。。orz
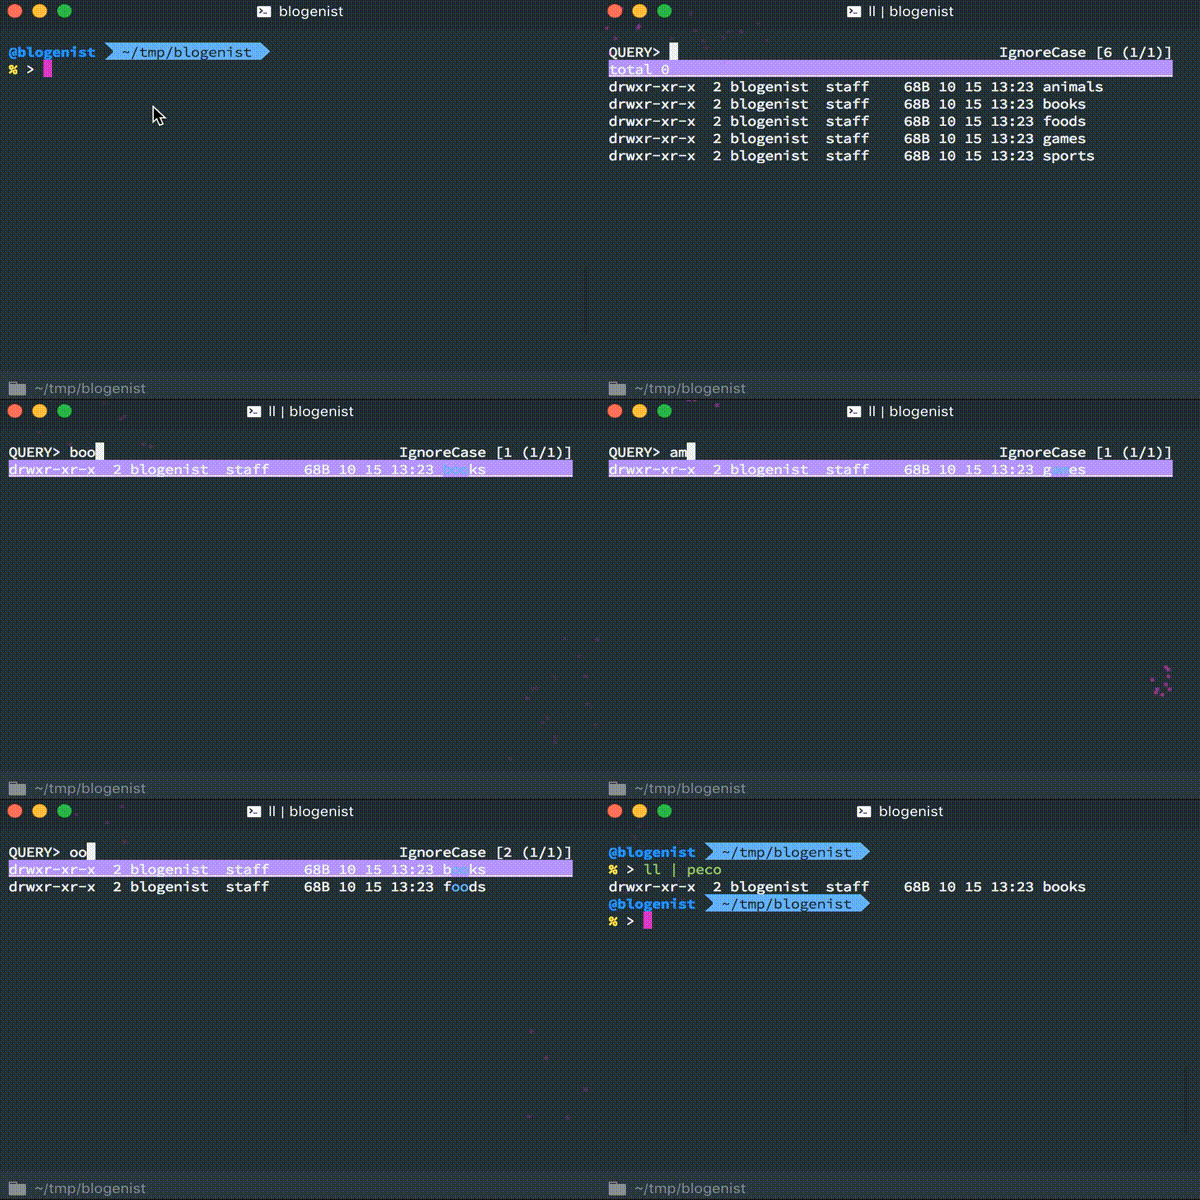
そんな状況にモヤモヤしていたところ、さらに良さげなGif画像作成ツールを見つけましたのでご紹介致します。
インストール
Homebrewでインストール
こちらもHomebrewに対応しているので以下のコマンドでインストールを済ませましょう。
brew install ffmpeg
以下のログが表示されればインストール完了です。
依存するパッケージがあるのでログはちょっと多めですね。
==> Installing dependencies for ffmpeg: lame, x264 and xvid
==> Installing ffmpeg dependency: lame
==> Downloading https://homebrew.bintray.com/bottles/lame-3.100.e
######################################################################## 100.0%
==> Pouring lame-3.100.el_capitan.bottle.tar.gz
🍺  /usr/local/Cellar/lame/3.100: 27 files, 2.1MB
==> Installing ffmpeg dependency: x264
==> Downloading https://homebrew.bintray.com/bottles/x264-r2854.e
######################################################################## 100.0%
==> Pouring x264-r2854.el_capitan.bottle.1.tar.gz
🍺  /usr/local/Cellar/x264/r2854: 11 files, 3.4MB
==> Installing ffmpeg dependency: xvid
==> Downloading https://homebrew.bintray.com/bottles/xvid-1.3.5.e
######################################################################## 100.0%
==> Pouring xvid-1.3.5.el_capitan.bottle.tar.gz
🍺  /usr/local/Cellar/xvid/1.3.5: 10 files, 1.2MB
==> Installing ffmpeg
==> Downloading https://homebrew.bintray.com/bottles/ffmpeg-4.0.2
######################################################################## 100.0%
==> Pouring ffmpeg-4.0.2.el_capitan.bottle.tar.gz
🍺  /usr/local/Cellar/ffmpeg/4.0.2: 246 files, 50.2MB
確認
以下のコマンドで動作確認してみましょう。
ffmpeg -version
以下のようなバージョン情報が表示されればOKです。
ffmpeg version 4.0.2 Copyright (c) 2000-2018 the FFmpeg developers
built with Apple LLVM version 8.0.0 (clang-800.0.42.1)
configuration: --prefix=/usr/local/Cellar/ffmpeg/4.0.2 --enable-shared --enable-pthreads --enable-version3 --enable-hardcoded-tables --enable-avresample --cc=clang --host-cflags= --host-ldflags= --enable-gpl --enable-libmp3lame --enable-libx264 --enable-libxvid --enable-opencl --enable-videotoolbox --disable-lzma
libavutil      56. 14.100 / 56. 14.100
libavcodec     58. 18.100 / 58. 18.100
libavformat    58. 12.100 / 58. 12.100
libavdevice    58.  3.100 / 58.  3.100
libavfilter     7. 16.100 /  7. 16.100
libavresample   4.  0.  0 /  4.  0.  0
libswscale      5.  1.100 /  5.  1.100
libswresample   3.  1.100 /  3.  1.100
libpostproc    55.  1.100 / 55.  1.100
使い方
.movを.gifに変換
まずは特に気にせずに変換をしてみましょう。
今回はこちらの.movを.gifにしてみましょう。
以下のコマンドで実行してください。
ffmpeg -i {変換元のmov動画までのパス}.mov -r {フレームレート} {変換後のgif画像の吐き出し先}.gif
実行すると以下のようなログがだら〜っと出て数秒待つと完了します。
早いですね!
ffmpeg version 4.0.2 Copyright (c) 2000-2018 the FFmpeg developers
  built with Apple LLVM version 8.0.0 (clang-800.0.42.1)
  configuration: --prefix=/usr/local/Cellar/ffmpeg/4.0.2 --enable-shared --enable-pthreads --enable-version3 --enable-hardcoded-tables --enable-avresample --cc=clang --host-cflags= --host-ldflags= --enable-gpl --enable-libmp3lame --enable-libx264 --enable-libxvid --enable-opencl --enable-videotoolbox --disable-lzma
  libavutil      56. 14.100 / 56. 14.100
  libavcodec     58. 18.100 / 58. 18.100
  libavformat    58. 12.100 / 58. 12.100
  libavdevice    58.  3.100 / 58.  3.100
  libavfilter     7. 16.100 /  7. 16.100
  libavresample   4.  0.  0 /  4.  0.  0
  libswscale      5.  1.100 /  5.  1.100
  libswresample   3.  1.100 /  3.  1.100
  libpostproc    55.  1.100 / 55.  1.100
Input #0, mov,mp4,m4a,3gp,3g2,mj2, from '/Users/blogenist/Downloads/pecoDemo.mov':
  Metadata:
    major_brand     : qt
    minor_version   : 0
    compatible_brands: qt
    creation_time   : 2018-10-15T04:32:09.000000Z
    com.apple.quicktime.make: Apple
    com.apple.quicktime.model: MacBookPro12,1
    com.apple.quicktime.software: Mac OS X 10.11.3 (15D21)
    com.apple.quicktime.creationdate: 2018-10-15T13:28:13+0900
  Duration: 00:00:20.75, start: 0.000000, bitrate: 824 kb/s
    Stream #0:0(und): Video: h264 (Main) (avc1 / 0x31637661), yuv420p(tv, bt709), 968x696 [SAR 1:1 DAR 121:87], 817 kb/s, 60 fps, 60 tbr, 6k tbn, 50 tbc (default)
    Metadata:
      creation_time   : 2018-10-15T04:32:09.000000Z
      handler_name    : Core Media Data Handler
      encoder         : H.264
Stream mapping:
  Stream #0:0 -> #0:0 (h264 (native) -> gif (native))
Press [q] to stop, [?] for help
[swscaler @ 0x7f954a8b2a00] No accelerated colorspace conversion found from yuv420p to bgr8.
Output #0, gif, to '/Users/blogenist/Downloads/pecoDemoFromFfmpeg.gif':
  Metadata:
    major_brand     : qt
    minor_version   : 0
    compatible_brands: qt
    com.apple.quicktime.creationdate: 2018-10-15T13:28:13+0900
    com.apple.quicktime.make: Apple
    com.apple.quicktime.model: MacBookPro12,1
    com.apple.quicktime.software: Mac OS X 10.11.3 (15D21)
    encoder         : Lavf58.12.100
    Stream #0:0(und): Video: gif, bgr8, 968x696 [SAR 1:1 DAR 121:87], q=2-31, 200 kb/s, 24 fps, 100 tbn, 24 tbc (default)
    Metadata:
      creation_time   : 2018-10-15T04:32:09.000000Z
      handler_name    : Core Media Data Handler
      encoder         : Lavc58.18.100 gif
frame=  499 fps= 96 q=-0.0 Lsize=    2003kB time=00:00:20.76 bitrate= 790.4kbits/s dup=0 drop=746 speed=3.99x
video:1998kB audio:0kB subtitle:0kB other streams:0kB global headers:0kB muxing overhead: 0.234233%
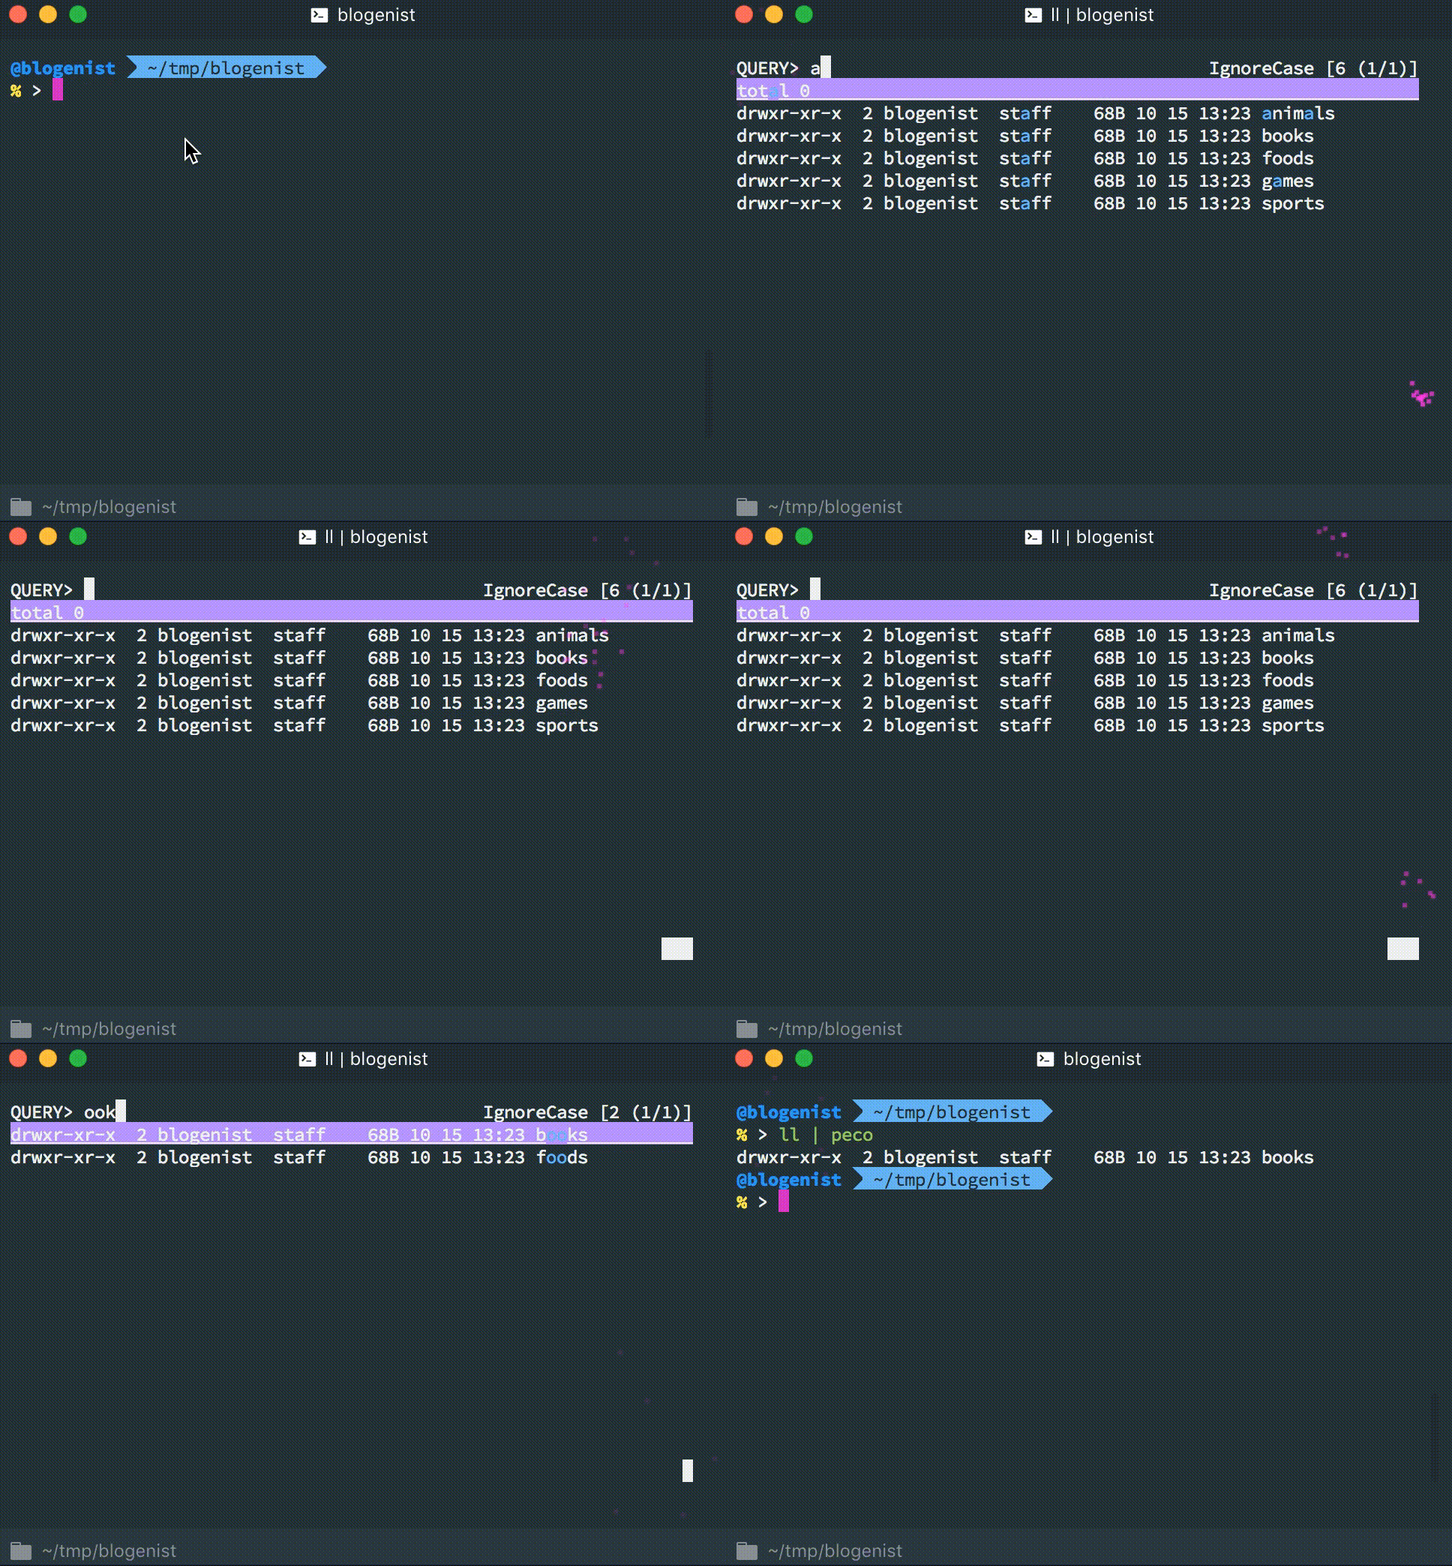
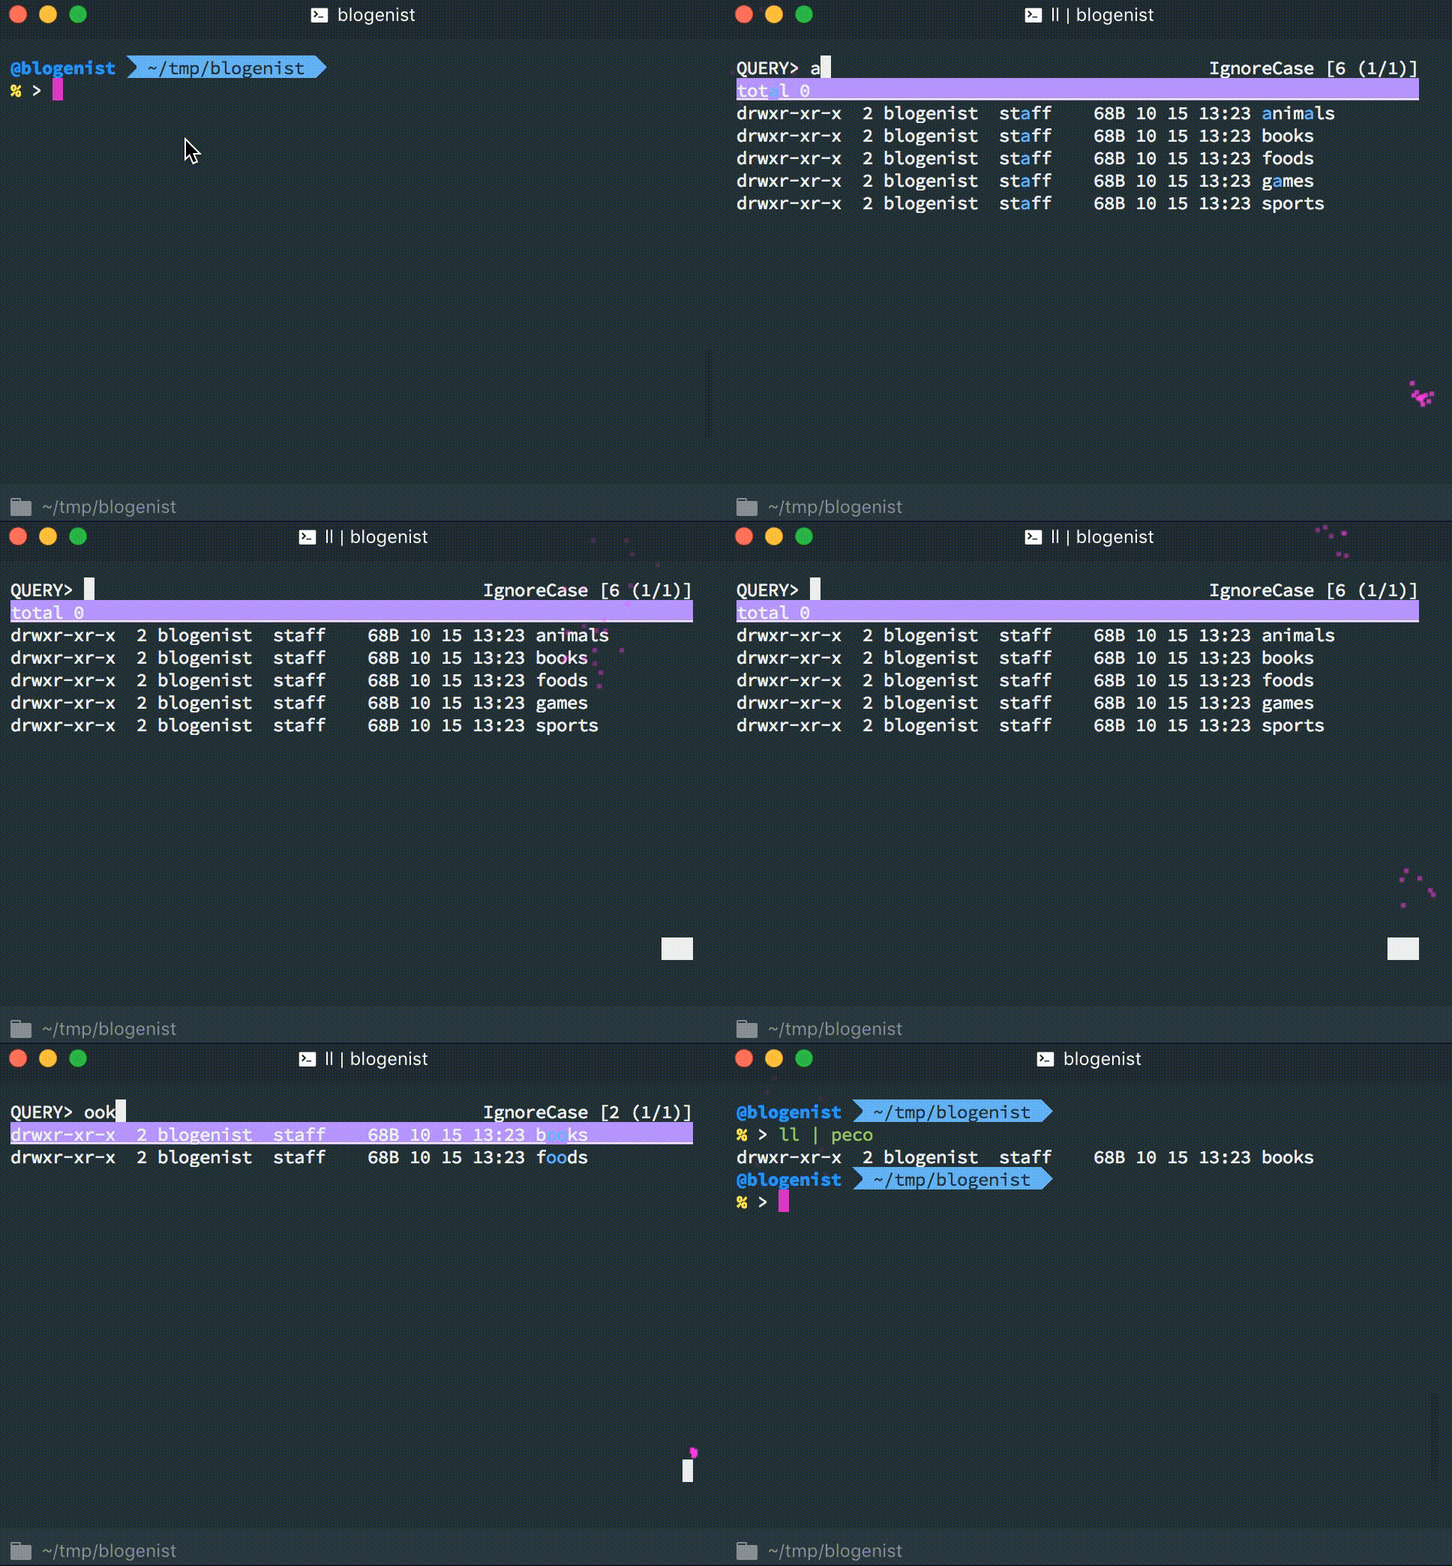
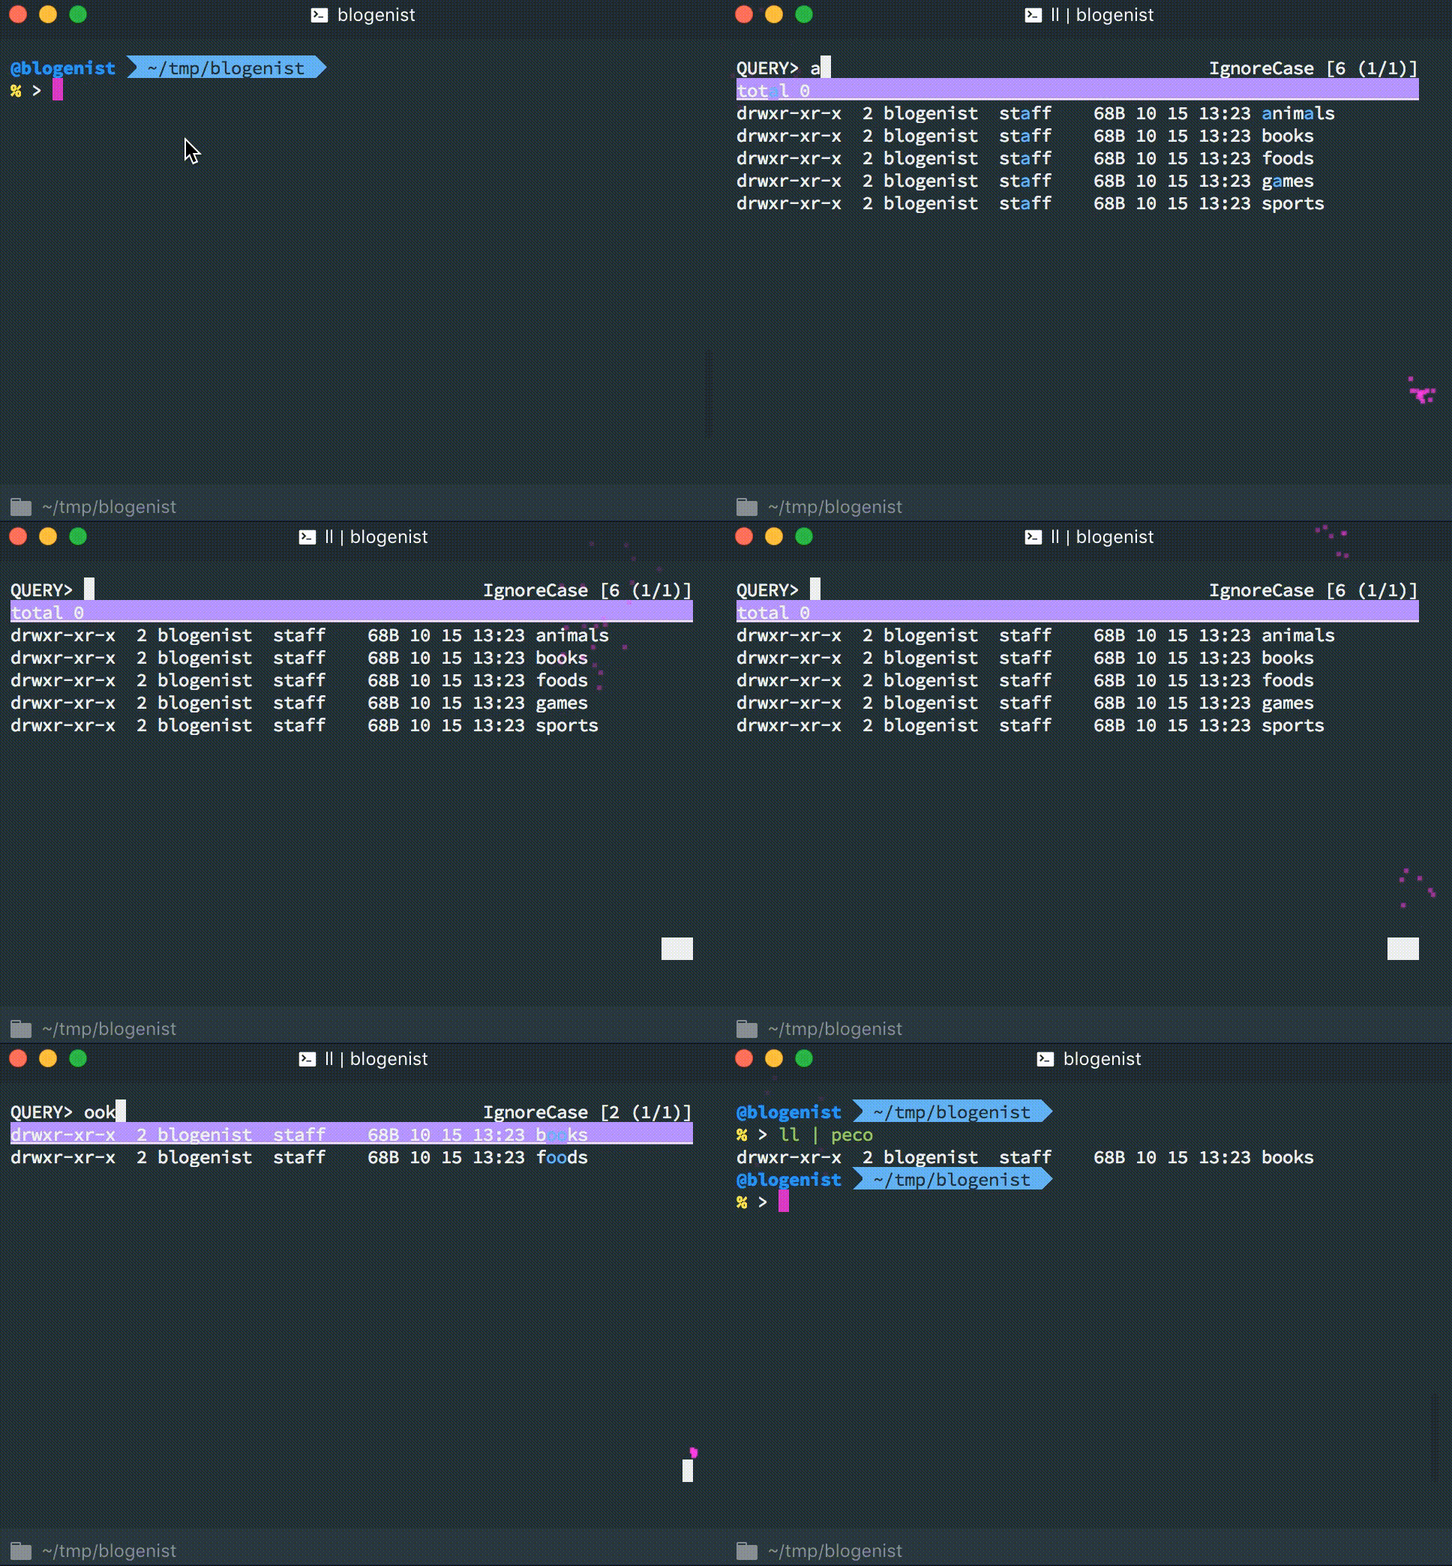
今回は試しに、24fps/30fps/60fps、比較用のGiftedの4パターンを作成してみました。
24fps
30fps
60fps
Gifted
比較結果
24fpsと30fpsに関しては問題無く動いていますが、60fpsはちょっと動きが重くなってしまっていますね。
フレームレートは無難に30fpsあたりが良いでしょう。
冒頭でも伝えた通り、Gifted産のものは動画のスピードがちょっと早送りになっている感じです。
画質についても明らかにGiftedで作成したものよりffmpegで作成したgifの方が良いですね。
終わりに
以上のようにコマンドベースで簡単に高画質なgif動画を作れるようになりました。
また、今回は基本的な使い方しか紹介していませんが、他にも様々な便利オプションもあります。
gif画像はGithubなどにも貼れますし、自分の撮影した動画などをgifにすればLineやTwitter、Slackなど様々なSNSでも使えることが出来るようになるので、エンジニアさんだけでなく興味のある方は是非ffmpegを使ってみてはいかがでしょうか♪