
PR この記事には広告(アフィリエイトリンク)が含まれています。 詳細
ターミナルの使いやすさはマジ大事
作業効率を左右する
開発をしている方なら分かると思いますが、ターミナルの使いやすさで作業効率が何倍も変わる事はリアルにありえます。
筆者は日頃から勉強の意味も兼ねてなるべくGUIではなくCUIでの操作をするように心がけています。
そうする事によってGUIアプリが暗黙的にやってくれている事をしっかり理解する事が出来ますしね。
Windowsは遅れを取っている
Macに関しては標準でターミナルソフトが付いているため、特に困る事なくLinuxコマンド操作を行う事が出来ます。
また、iTerm2と言う強力なターミナルソフトもあります。
しかし、Windows環境ではこのターミナル操作においてずっと使いにくい!!と言われていました。戦犯はコマンドプロンプトです。
そもそもWindowsはLinuxマシンではないので、コマンドが異なると言う点もあります。
AWSのEC2や実際にWebシステムを載せるサーバーはLinuxコマンドによる操作前提なので、Windowsマシンで同じような操作が出来ないのが辛いです。
cygwinを入れることで一応Linuxコマンドは叩けますが、解決策とは言えません。
現状、Windows10ではubuntuが内蔵されが使えるようになったりとターミナル周りが強化されたとはいえ、やはりまだまだ標準のアプリだと使い勝手が悪く物足りないです。
クロスプラットフォームのターミナルアプリが登場
そんな中、Hyperというターミナルアプリが登場しました。
HyperはElectron製のデスクトップアプリとなっています。
ElectronはHtml/CSS/JavaScriptをベースに使用してアプリケーションを作る事が可能で、そのおかげでWindows/Mac両方で動くアプリが作れます。
これは素晴らしいですね!
今回は実際にMacでインストールしてみました。
手順
インストール
今回もHomebrewでインストールをします。
以下のコマンドでインストールをしましょう。
brew cask install hyper
以下のような実行ログが出力されればインストール完了です。
==> Satisfying dependencies
==> Downloading https://github.com/zeit/hyper/releases/download/2.0.0/hyper-2.0.0-mac.zip
==> Downloading from https://github-production-release-asset-2e65be.s3.amazonaws.com/62367558/396dd664-4152-11e8-9f37-b8931d7e11ef?X-Amz-Algorithm=AWS4-HMAC-S
######################################################################## 100.0%
==> Verifying SHA-256 checksum for Cask 'hyper'.
==> Installing Cask hyper
==> Moving App 'Hyper.app' to '/Applications/Hyper.app'.
🍺  hyper was successfully installed!
起動
では、実際に起動してみましょう。
Alfredを入れている場合は「Hyper」と入力しましょう。
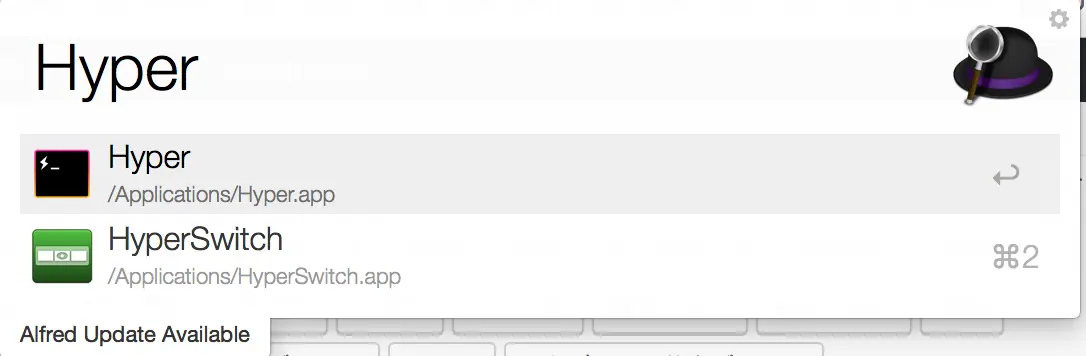
アプリケーションフォルダにアイコンが出来ているのでそちらからでも良いです。

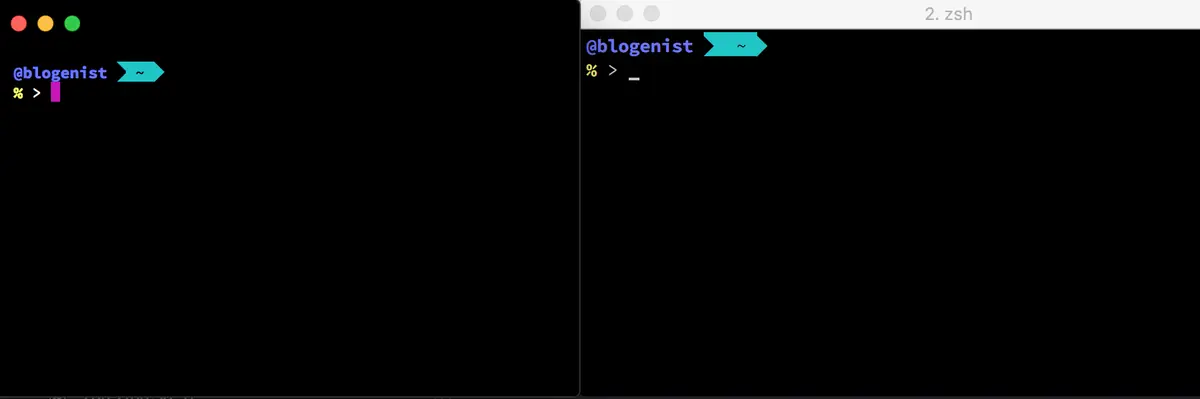
左がHyper、右がiTerm2です。
ぱっと見はそんなに差異がありませんね。
設定は.hyper.jsで管理
アプリを起動するとホームディレクトリに.hyper.jsというファイルが自動で設定されます。
Hyperでは設定は全てこのjsファイルで管理ををしていきます。
この辺もElectron感があってとても良いですね♪
もちろん、このファイルを他に人に渡せば全く同じ設定を反映する事が出来るので便利です。
// Future versions of Hyper may add additional config options,
// which will not automatically be merged into this file.
// See https://hyper.is#cfg for all currently supported options.

module.exports = {
  config: {
    // choose either `'stable'` for receiving highly polished,
    // or `'canary'` for less polished but more frequent updates
    updateChannel: 'stable',

    // default font size in pixels for all tabs
    fontSize: 12,

    // font family with optional fallbacks
    fontFamily: 'Menlo, "DejaVu Sans Mono", Consolas, "Lucida Console", monospace',

    // default font weight: 'normal' or 'bold'
    fontWeight: 'normal',

    // font weight for bold characters: 'normal' or 'bold'
    fontWeightBold: 'bold',

    // terminal cursor background color and opacity (hex, rgb, hsl, hsv, hwb or cmyk)
    cursorColor: 'rgba(248,28,229,0.8)',

    // terminal text color under BLOCK cursor
    cursorAccentColor: '#000',

    // `'BEAM'` for |, `'UNDERLINE'` for _, `'BLOCK'` for █
    cursorShape: 'BLOCK',

    // set to `true` (without backticks and without quotes) for blinking cursor
    cursorBlink: false,

    // color of the text
    foregroundColor: '#fff',

    // terminal background color
    // opacity is only supported on macOS
    backgroundColor: '#000',

    // terminal selection color
    selectionColor: 'rgba(248,28,229,0.3)',

    // border color (window, tabs)
    borderColor: '#333',

    // custom CSS to embed in the main window
    css: '',

    // custom CSS to embed in the terminal window
    termCSS: '',

    // if you're using a Linux setup which show native menus, set to false
    // default: `true` on Linux, `true` on Windows, ignored on macOS
    showHamburgerMenu: '',

    // set to `false` (without backticks and without quotes) if you want to hide the minimize, maximize and close buttons
    // additionally, set to `'left'` if you want them on the left, like in Ubuntu
    // default: `true` (without backticks and without quotes) on Windows and Linux, ignored on macOS
    showWindowControls: '',

    // custom padding (CSS format, i.e.: `top right bottom left`)
    padding: '12px 14px',

    // the full list. if you're going to provide the full color palette,
    // including the 6 x 6 color cubes and the grayscale map, just provide
    // an array here instead of a color map object
    colors: {
      black: '#000000',
      red: '#C51E14',
      green: '#1DC121',
      yellow: '#C7C329',
      blue: '#0A2FC4',
      magenta: '#C839C5',
      cyan: '#20C5C6',
      white: '#C7C7C7',
      lightBlack: '#686868',
      lightRed: '#FD6F6B',
      lightGreen: '#67F86F',
      lightYellow: '#FFFA72',
      lightBlue: '#6A76FB',
      lightMagenta: '#FD7CFC',
      lightCyan: '#68FDFE',
      lightWhite: '#FFFFFF',
    },

    // the shell to run when spawning a new session (i.e. /usr/local/bin/fish)
    // if left empty, your system's login shell will be used by default
    //
    // Windows
    // - Make sure to use a full path if the binary name doesn't work
    // - Remove `--login` in shellArgs
    //
    // Bash on Windows
    // - Example: `C:\\Windows\\System32\\bash.exe`
    //
    // PowerShell on Windows
    // - Example: `C:\\WINDOWS\\System32\\WindowsPowerShell\\v1.0\\powershell.exe`
    shell: '',

    // for setting shell arguments (i.e. for using interactive shellArgs: `['-i']`)
    // by default `['--login']` will be used
    shellArgs: ['--login'],

    // for environment variables
    env: {},

    // set to `false` for no bell
    bell: 'SOUND',

    // if `true` (without backticks and without quotes), selected text will automatically be copied to the clipboard
    copyOnSelect: false,

    // if `true` (without backticks and without quotes), hyper will be set as the default protocol client for SSH
    defaultSSHApp: true,

    // if `true` (without backticks and without quotes), on right click selected text will be copied or pasted if no
    // selection is present (`true` by default on Windows and disables the context menu feature)
    // quickEdit: true,

    // URL to custom bell
    // bellSoundURL: 'http://example.com/bell.mp3',

    // for advanced config flags please refer to https://hyper.is/#cfg
  },

  // a list of plugins to fetch and install from npm
  // format: [@org/]project[#version]
  // examples:
  //   `hyperpower`
  //   `@company/project`
  //   `project#1.0.1`
  plugins: [],

  // in development, you can create a directory under
  // `~/.hyper_plugins/local/` and include it here
  // to load it and avoid it being `npm install`ed
  localPlugins: [],

  keymaps: {
    // Example
    // 'window:devtools': 'cmd+alt+o',
  },
};
このファイルを編集していくことでカスタマイズをしていくことになります。
prompt_segment:5: character not in rangeが出る場合
筆者のようにZshやzpreztoを利用してプロンプトの見た目を変えている場合は以下のようなエラーが表示が出る事があります。
prompt_segment:5: character not in range
その場合は、以下のファイルに追記をしてみて再起動してみてください。
env: {
      LANG: "ja_JP.UTF-8",
      LC_ALL: "ja_JP.UTF-8"
},
これでエラーは消えると思います。
あとは文字化けも起こることもあるのでその場合はフォントを適切に設定すれば解決できるでしょう♪
終わりに
導入直後の使い勝手は基本的にはiTerm2とは変わりません。
しかし、Hyperの強みはカスタマイズ性の高さです!
これからいろいろとカスタマイズをしていこうと思っているので皆さんもターミナルアプリを乗り換えてみてはいかがでしょうか♪