PR この記事には広告(アフィリエイトリンク)が含まれています。 詳細
動画をコードで作りたい
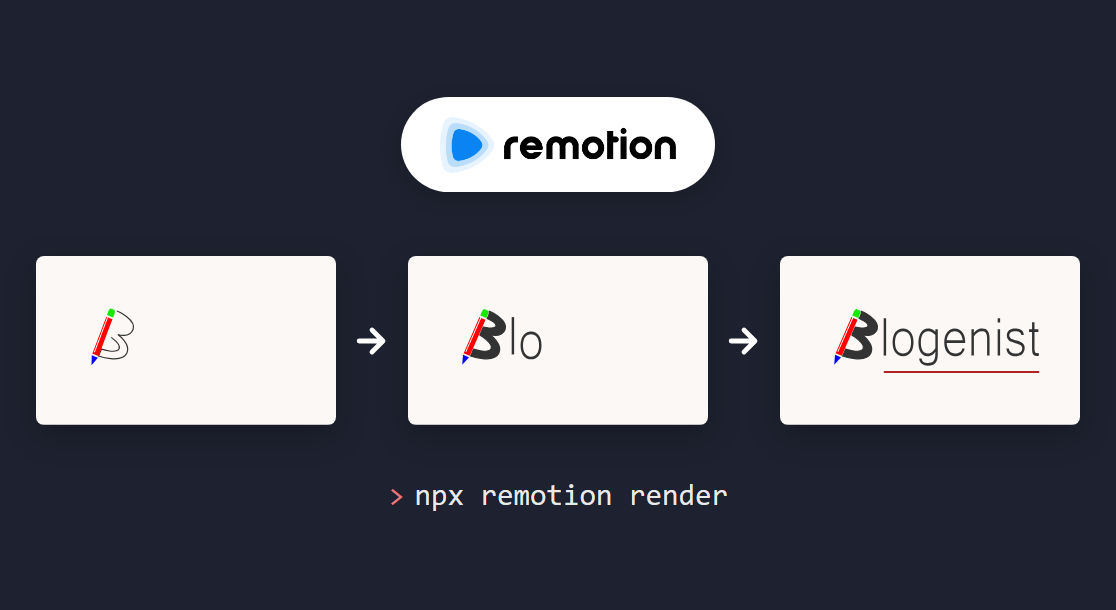
まずは、今回作ったものをご覧ください♪
動画編集ソフトは一切使っていません。全部コードで書いて、コマンド1つで書き出した動画です。しかも5秒で 234KB と、とっても軽量です。
これを作ったのが、動画をコードで作れる Remotion という道具です。最近使い始めました。
"Make videos programmatically."
Remotion | Make videos programmatically
普通の動画編集ソフトは、タイムラインに素材を並べて手で調整していきますよね。Remotion はそうではなく、React のコンポーネントで1コマずつ画面を描いて、それを動画に書き出すという仕組みです。
"React is the library for web and native user interfaces. Build user interfaces out of individual pieces called components written in JavaScript. React is designed to let you seamlessly combine components written by independent people, teams, and organizations."
React

React は Web の画面を作るための定番のライブラリです。普段は Web サイトの画面を作るのに使うものを、動画の1コマを描くのに使うというのが Remotion の面白いところですね。
- 文字や数字を差し替えて同じ型の動画を量産できる
- 動きを数式で指定できるので、ズレない
- 中身がただのコードなので、git で管理できる
このあたりに魅力を感じる人には、かなり刺さる道具だと思います♪
今回は、まっさらな状態からインストールして、mp4 を1本書き出すまでの手順と、冒頭のロゴの動画の作り方(ソースは全部載せます)をまとめます。
用意するもの
必要なのは Node.js だけです。
"Node.js® is a free, open-source, cross-platform JavaScript runtime environment that lets developers create servers, web apps, command line tools and scripts."
Node.js — どこでもJavaScriptを使おう

node -v
npm -vv21.7.0
10.5.0筆者の手元は v21.7.0 でした。作られるプロジェクトの package.json には次の条件が書かれていて、これを満たしていれば動きます。
"engines": {
  "node": "^18.18.0 || ^20.9.0 || >=21.1.0"
}これから入れる人は、LTS 版(偶数のバージョン)を入れておけば間違いないと思います。
動画の書き出しに使う FFmpeg や Chrome を自分で入れる必要はありません。このあと見ていきますが、どちらも Remotion が面倒を見てくれます。
プロジェクトを作る
公式のひな形づくりのコマンド create-video を使います。何も付けずに実行すると、テンプレートを対話形式で選ぶ画面になります。
まずはヘルプを見てみましょう。
npx --yes create-video@latest --helpUsage:
npx create-video --yes --blank my-video
npx create-video [options] [directory]
Options:
--yes, -y Enable non-interactive mode. Requires a template flag and a directory, unless --tmp is used.
--tailwind Install TailwindCSS for supported templates.
Template flags:
--blank
--hello-world
--next
--still
--audiogram
--music-visualization
--tiktok
...テンプレートがかなりの数あります。音声に合わせて波形を出す --audiogram や、字幕付きの縦動画を作る --tiktok など、用途別のひな形がそろっていますね。
今回は動きのお手本が入っている --hello-world にします。--yes を付けると質問なしで一気に作ってくれます。
npx --yes create-video@latest --yes --hello-world my-videoWelcome to Remotion!
Installing dependencies...
added 342 packages, and audited 343 packages in 2m
85 packages are looking for funding
run `npm fund` for details
8 moderate severity vulnerabilities
Copied to my-video.
Get started by running:
cd my-video
npm run dev
To render a video, run:
npx remotion render
Remotion is free for teams of up to 3.
Adopting Remotion in your company? Visit https://www.remotion.dev/docs/license/pricing
所要: 147 秒2分半ほどで完了しました。パッケージの取得込みなので、回線によって前後すると思います。
最後に出ている一文は大事なので、あとで触れます。
中身を見てみる
できあがったフォルダはこうなっています。
.git\
node_modules\
public\
src\
  index.ts
  Root.tsx
  HelloWorld.tsx
  HelloWorld\Arc.tsx
  HelloWorld\Atom.tsx
  HelloWorld\Logo.tsx
  HelloWorld\Title.tsx
.gitignore
package.json
remotion.config.ts
tsconfig.json
git init まで済ませてくれているのがありがたいですね。node_modules は 278.7MB でした。
入ったバージョンも確かめておきます。
cd my-video
npx remotion versionsNode.JS = v21.7.0, OS = win32
On version: 4.0.545
- @remotion/bundler
- @remotion/cli
- @remotion/compositor-win32-x64-msvc
- remotion
- @remotion/renderer
- @remotion/studio
...
All packages have the correct version.Remotion 4.0.545 が入りました。@remotion/compositor-win32-x64-msvc という Windows 用のパッケージが入っていて、FFmpeg はこの中に同梱されています。自分で入れなくていいのはこのおかげです♪
動画の「設計図」を見る
Remotion では、1本の動画のことを コンポジション と呼びます。どんなコンポジションがあるかは src/Root.tsx に書かれています。
<Composition
  id="HelloWorld"
  component={HelloWorld}
  durationInFrames={150}
  fps={30}
  width={1920}
  height={1080}
  defaultProps={{
    titleText: "Welcome to Remotion",
    titleColor: "#000000",
  }}
/>
150 フレーム・30fps・1920x1080、つまりフルHDの5秒の動画ですね。defaultProps は、あとから差し替えられる値です。
コマンドで一覧を出すこともできます。
npx remotion compositionsBundled code ━━━━━━━━━━━━━━━━━━ 26478ms
⚡️ Cached bundle. Subsequent renders will be faster.
Downloading Chrome Headless Shell https://www.remotion.dev/chrome-headless-shell
Downloading from: https://remotion.media/chromium-headless-shell-win-x64-158.0.8127.2.zip?clear
Getting Headless Shell - 9.5 Mb/131.1 Mb
...
Got Headless Shell
The following compositions are available:
Logo 30 1920x1080 150 (5.00 sec)
Title 30 1920x1080 115 (3.83 sec)
HelloWorld 30 1920x1080 150 (5.00 sec)初回だけ Chrome が落ちてくる
一覧を出しただけなのに、Downloading Chrome Headless Shell と出て、131MB のダウンロードが始まりました。
これは驚くところではなく、Remotion の仕組みそのものです。画面をブラウザ(ヘッドレス Chrome)で描いて、1コマずつ撮影して動画にするので、専用の Chrome が要ります。初回にだけ自動で取ってきて、2回目からは使い回されます。
置き場所はプロジェクトの中でした。
my-video\node_modules\.remotion\chrome-headless-shell 303.0 MBnode_modules の中に入るので、プロジェクトごと消せば一緒に消えます。 システムに何かが残るタイプではないので安心ですね♪
mp4 に書き出す
いよいよ書き出しです。コンポジションの id と出力先を指定します。
npx remotion render HelloWorld out/HelloWorld.mp4Composition HelloWorld
Codec h264
Output out/HelloWorld.mp4
Concurrency 8x
Rendered 1/150, time remaining: 1m 56s
Rendered 2/150, time remaining: 58s
...
Rendered 149/150, time remaining: 0s
Encoded 150/150
+ out/HelloWorld.mp4 880.6 kB
所要: 18 秒5秒の動画が18秒で書き出せました。 できあがったのがこちらです♪
Concurrency 8x は、8つのタブで手分けして撮影しているという意味です。
ちゃんと書き出せたか確かめる
「できた」で終わらせず、中身も見ておきます。同梱の ffprobe がそのまま使えます。
$fp = Get-ChildItem node_modules\@remotion\compositor-win32-x64-msvc -Filter ffprobe.exe -Recurse | Select-Object -First 1
& $fp.FullName -v error -show_entries stream=codec_name,width,height,r_frame_rate,nb_frames -show_entries format=duration -of default=nw=1 out\HelloWorld.mp4codec_name=h264
width=1920
height=1080
r_frame_rate=30/1
nb_frames=150
duration=5.000000150 フレーム、ぴったり5秒です♪
1コマだけ画像で出す
動画全体を書き出さなくても、好きなコマを1枚の画像で出せます。見た目の確認にはこちらが早いです。
npx remotion still HelloWorld out/frame100.png --frame=100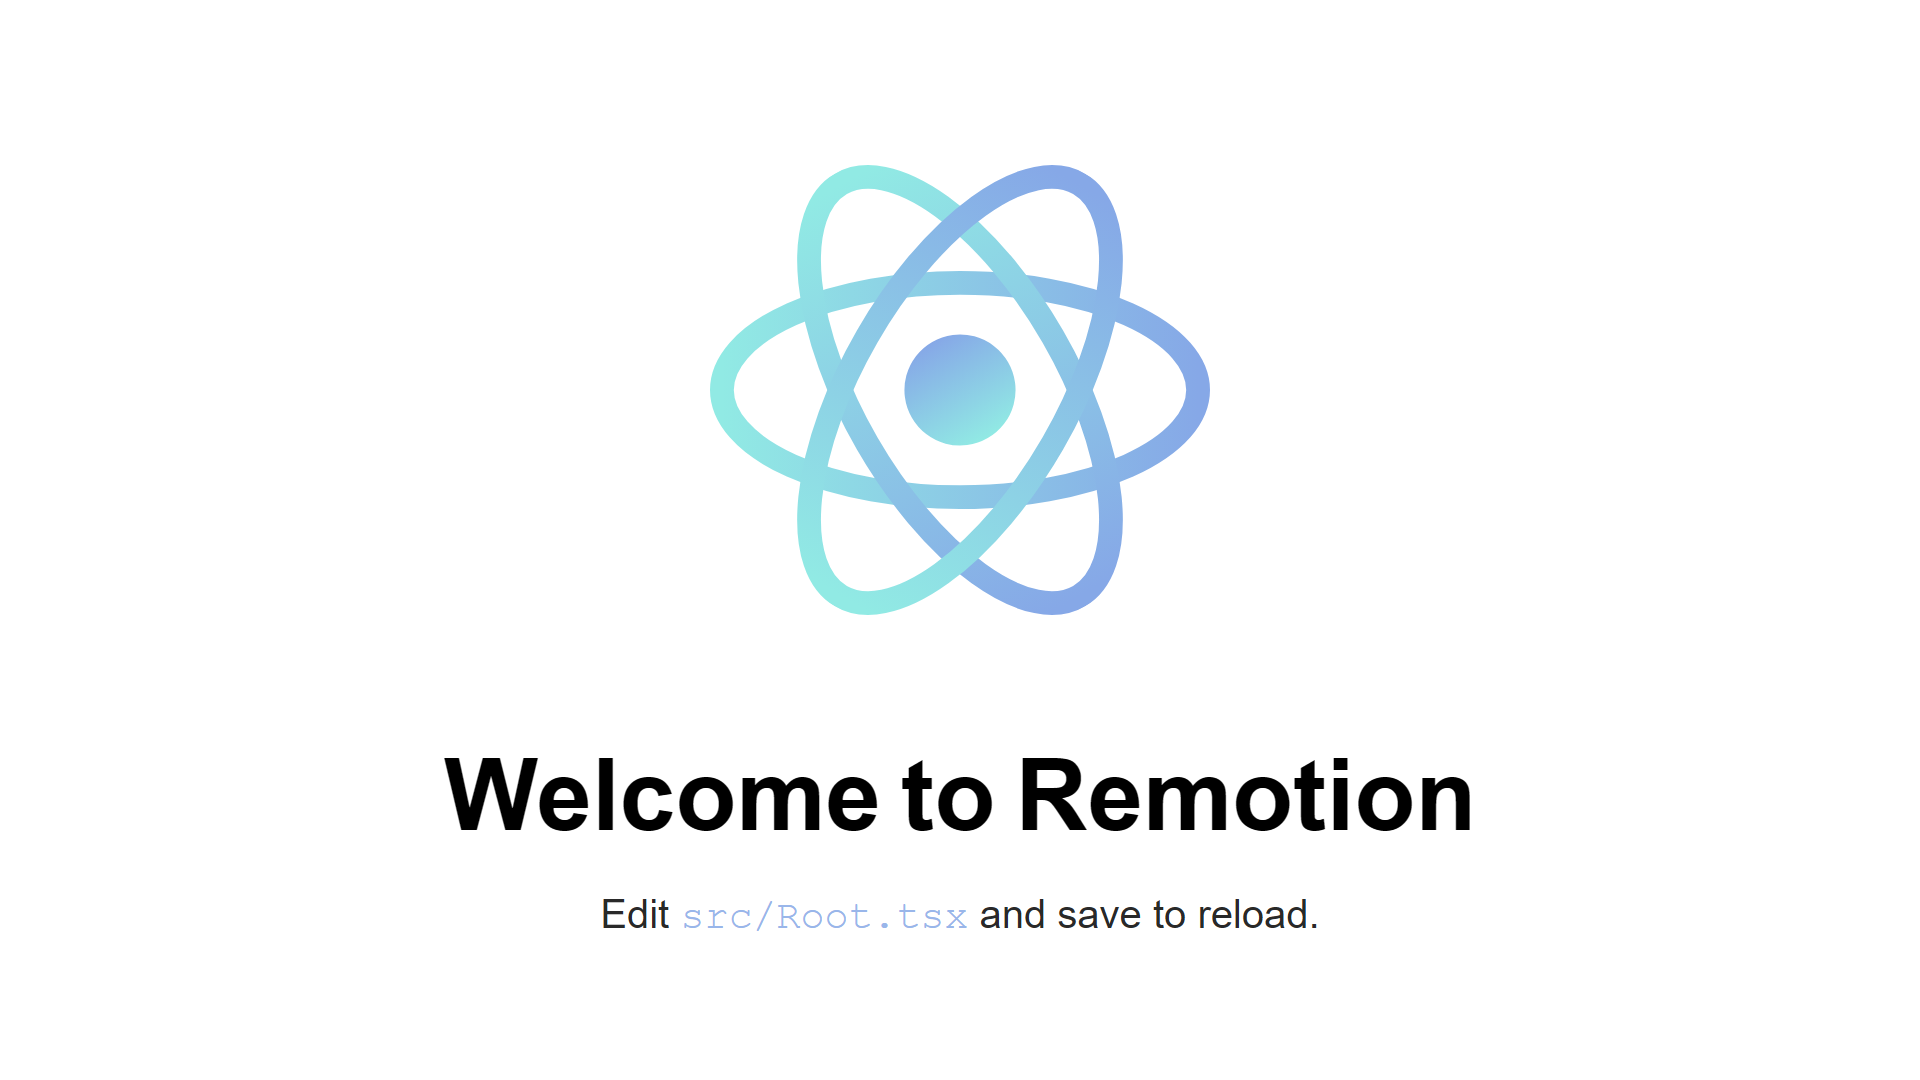
はい、Hello World。
文字と色を差し替える
さきほどの defaultProps は、コードを書き換えずに外から差し替えられます。JSON ファイルを用意して、--props で渡すだけです。
{"titleText":"はじめての Remotion","titleColor":"#b22222"}npx remotion still HelloWorld out/frame100-props.png --frame=100 --props=./props.json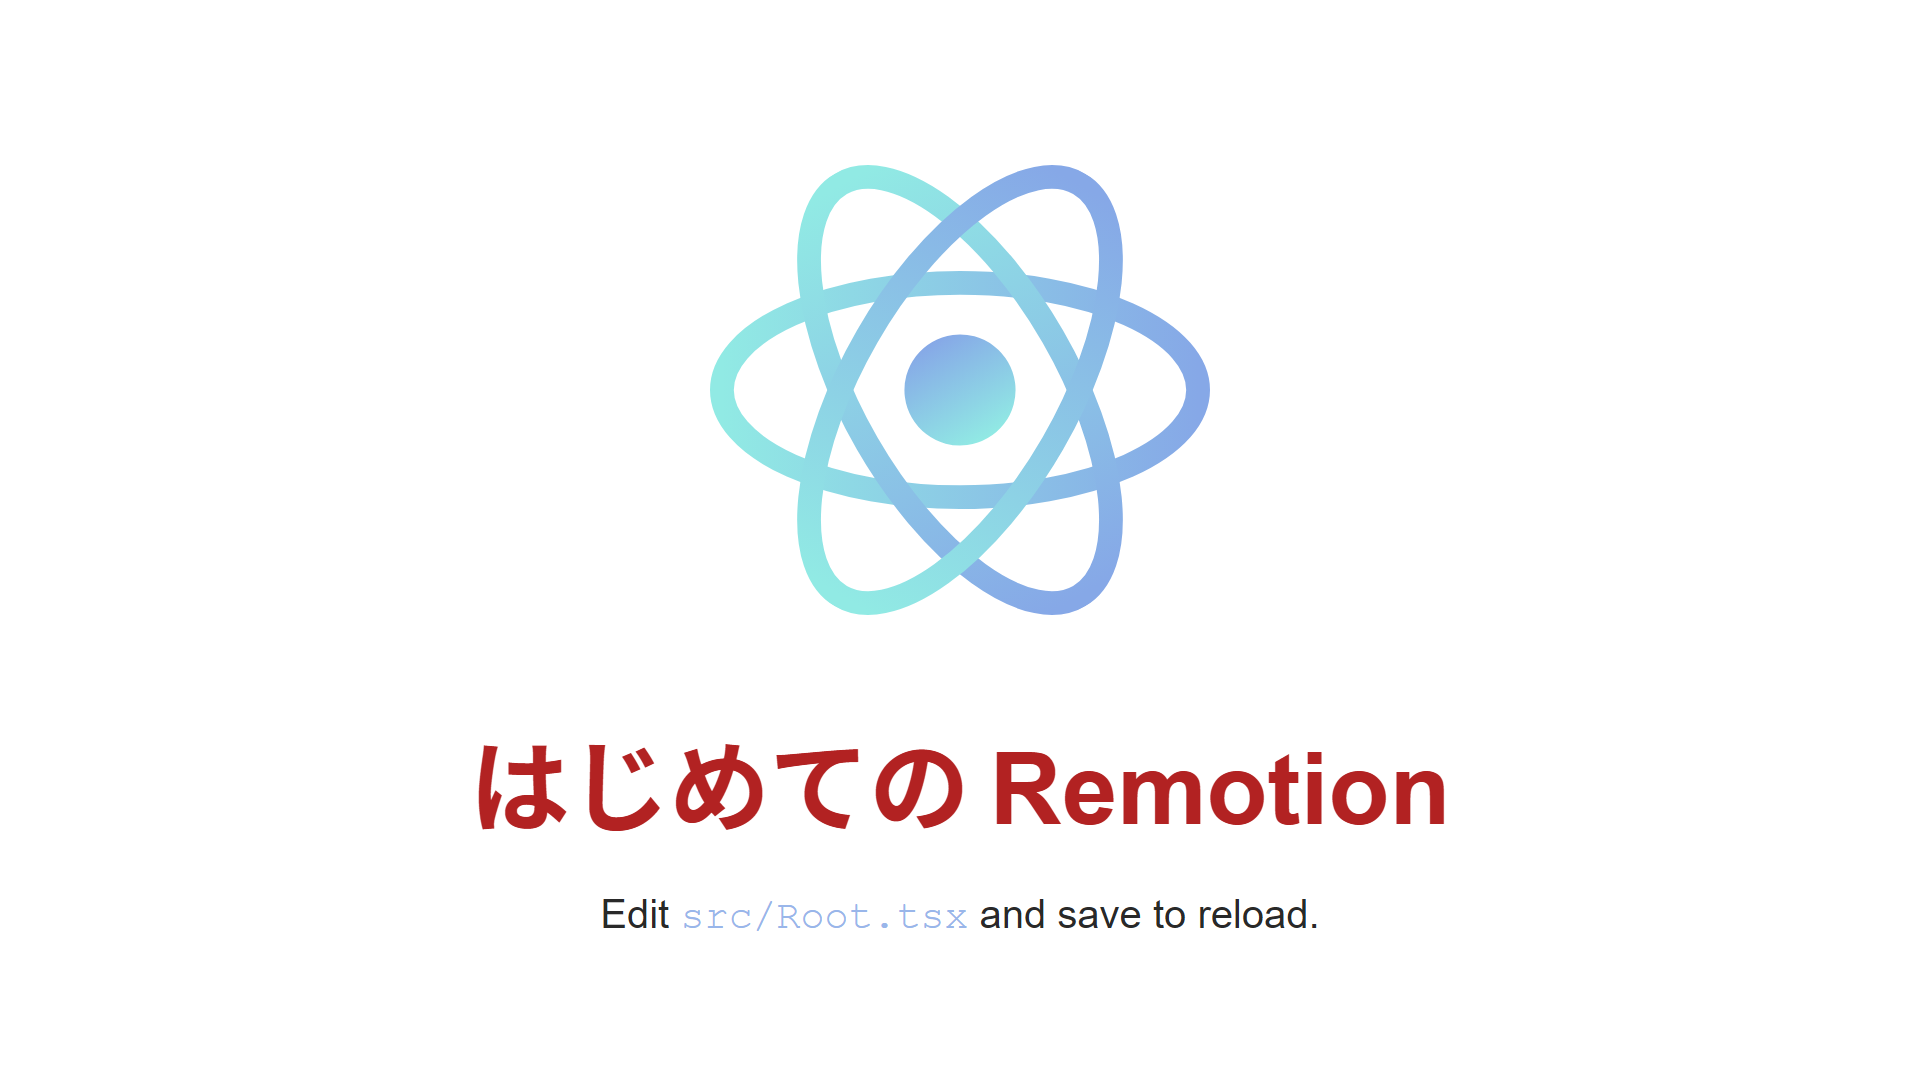
日本語もそのまま出ました♪
ここが Remotion のいちばんおいしいところだと思います。JSON を何個も用意してループで回せば、文字だけ違う動画をいくらでも作れるわけですね。render コマンドにも同じ --props が使えます。
編集画面(Studio)を開く
ひな形づくりの最後に出ていた npm run dev は、ブラウザで動く編集画面を開くコマンドです。
npm run dev中身は remotion studio で、タイムラインでコマを送りながら見た目を確かめたり、defaultProps をその場でいじったりできます。コードを保存すると、すぐ画面に反映されます。
動画づくりの普段の流れは、Studio で見ながらコードを直して、最後に render で書き出すという形になると思います。
ブログのロゴを動かしてみる
Hello World だけではさみしいので、いよいよ冒頭の動画を作ります。このブログのロゴを動かして、鉛筆が B を書いたあとに残りの文字が跳ねて出てくる動きにしました。
できあがりは 5秒で 234KB です。同じものを GIF にすると何倍も重くなるので、ブログに載せるなら mp4 が断然おすすめです。
ロゴの SVG を部品に分ける
ロゴは文字をアウトライン化した SVG で、中身はこうなっていました。
<path>  ×8   l・o・g・e・n・i・s・t の1文字ずつ
<path>  ×1   B
<path>  ×1   鉛筆のキャップ(緑)
<polygon> ×2 鉛筆の先(青)と本体(赤)1文字ずつ別の部品になっているので、文字ごとに動かせます。これを JSON に取り出して、React のコンポーネントから読み込みます。
取り出しは小さな Node のスクリプトにしました。ロゴの SVG をプロジェクトの直下に logo.svg として置いてから実行します。
// ロゴの SVG から、動かす部品(文字・B・鉛筆)を取り出して JSON にする
// 使い方: node scripts/extract-logo.mjs <logo.svg> src/LogoAnim/logo.json
import { readFileSync, writeFileSync } from "node:fs";

const [svgPath, outPath] = process.argv.slice(2);
const svg = readFileSync(svgPath, "utf8");

// <path> は属性の順番がまちまちなので、d と fill を別々に拾う
const paths = [...svg.matchAll(/<path\b([^>]*)>/g)].map((m) => ({
  d: m[1].match(/\sd="([^"]+)"/)[1],
  fill: m[1].match(/\sfill="([^"]+)"/)?.[1] ?? null,
}));
const polys = [...svg.matchAll(/<polygon\b([^>]*)>/g)].map((m) => ({
  fill: m[1].match(/\sfill="([^"]+)"/)[1],
  points: m[1].match(/\spoints="([^"]+)"/)[1],
}));

// 並びは SVG の中の順番どおり: l o g e n i s t → B → 鉛筆のキャップ
const logo = {
  letters: paths.slice(0, 8).map((p) => p.d),
  b: paths[8].d,
  cap: paths[9].d,
  capFill: paths[9].fill,
  polys,
};
writeFileSync(outPath, JSON.stringify(logo, null, 2));
console.log(`文字 ${logo.letters.length} / B 1 / キャップ 1(${logo.capFill})/ 鉛筆 ${polys.length} → ${outPath}`);mkdir src\LogoAnim
node scripts/extract-logo.mjs logo.svg src/LogoAnim/logo.json文字 8 / B 1 / キャップ 1(#15e900)/ 鉛筆 2 → src/LogoAnim/logo.json部品の並び順(何番目が B か、など)は、このロゴの SVG に合わせて決め打ちしています。別のロゴでやるときは、SVG を開いて順番を確かめてください。
ちなみに最初は、鉛筆のキャップを取り出しそこねていました。キャップだけ <path fill="#15e900" d="..."> と属性の順番が違っていたため、<path d=" で探していた正規表現に引っかからなかったのです。型チェックをかけたら教えてくれました。
src/LogoAnim/LogoAnim.tsx(91,17): error TS2322: Type 'null' is not assignable to type 'string | undefined'.上のスクリプトで d と fill を別々に拾っているのは、この反省からです。笑
動きをつける
コンポーネントの全文です。
import { evolvePath } from "@remotion/paths";
import {
  AbsoluteFill,
  Easing,
  interpolate,
  spring,
  useCurrentFrame,
  useVideoConfig,
} from "remotion";
import logo from "./logo.json";

const INK = "#333333";
const BRAND = "#b22222";
const BG = "#fbf8f6";

// 鉛筆の回転の中心(SVG の座標)
const PENCIL_CX = 80;
const PENCIL_CY = 140;

export const LogoAnim: React.FC = () => {
  const frame = useCurrentFrame();
  const { fps } = useVideoConfig();

  // 1. 鉛筆が右上から飛んでくる
  const pencilIn = spring({ frame, fps, config: { damping: 12, mass: 0.8 } });
  const pencilX = interpolate(pencilIn, [0, 1], [700, 0]);
  const pencilY = interpolate(pencilIn, [0, 1], [-420, 0]);
  const pencilRot = interpolate(pencilIn, [0, 1], [35, 0]);
  // 書いている間は小さく揺れる。最後にトンと一度弾む
  const writing = frame >= 18 && frame <= 60 ? Math.sin(frame * 0.9) * 3 : 0;
  const tap = spring({ frame: frame - 96, fps, config: { damping: 8 } });
  const tapY = interpolate(tap, [0, 0.5, 1], [0, -14, 0]);

  // 2. 「B」を線で描いて、あとから塗る
  const drawB = interpolate(frame, [16, 56], [0, 1], {
    extrapolateLeft: "clamp",
    extrapolateRight: "clamp",
    easing: Easing.inOut(Easing.cubic),
  });
  const bStroke = evolvePath(drawB, logo.b);
  const bFill = interpolate(frame, [46, 62], [0, 1], {
    extrapolateLeft: "clamp",
    extrapolateRight: "clamp",
  });

  // 3. 最後に下線を左から右へ引く(文字の動きは下の return の中)
  const line = interpolate(frame, [92, 112], [0, 1], {
    extrapolateLeft: "clamp",
    extrapolateRight: "clamp",
    easing: Easing.out(Easing.cubic),
  });

  return (
    <AbsoluteFill
      style={{ backgroundColor: BG, justifyContent: "center", alignItems: "center" }}
    >
      <svg viewBox="-30 -20 940 320" style={{ width: 933, overflow: "visible" }}>
        {/* B */}
        <path
          d={logo.b}
          fill={INK}
          fillOpacity={bFill}
          stroke={INK}
          strokeWidth={5}
          strokeDasharray={bStroke.strokeDasharray}
          strokeDashoffset={bStroke.strokeDashoffset}
        />

        {/* logenist を1文字ずつ下から跳ねさせる */}
        {logo.letters.map((d, i) => {
          const s = spring({
            frame: frame - (52 + i * 5),
            fps,
            config: { damping: 10, mass: 0.6 },
          });
          return (
            <path
              key={i}
              d={d}
              fill={INK}
              opacity={interpolate(s, [0, 0.3], [0, 1], { extrapolateRight: "clamp" })}
              transform={`translate(0 ${interpolate(s, [0, 1], [70, 0])})`}
            />
          );
        })}

        {/* 鉛筆(キャップ・本体・先) */}
        <g
          transform={`translate(${pencilX} ${pencilY + tapY}) rotate(${pencilRot + writing} ${PENCIL_CX} ${PENCIL_CY})`}
        >
          <path d={logo.cap} fill={logo.capFill} />
          {logo.polys.map((p, i) => (
            <polygon key={i} points={p.points} fill={p.fill} />
          ))}
        </g>

        {/* 下線 */}
        <rect x={240} y={272} width={670 * line} height={8} rx={4} fill={BRAND} />
      </svg>
    </AbsoluteFill>
  );
};
使っている関数は3つだけです。
spring()は、バネのように行き過ぎて戻る動きを 0→1 の値で返してくれますevolvePath()(@remotion/paths)は、SVG の線を描き順どおりに伸ばしていく値を作ってくれますinterpolate()で、その値を位置や角度に読み替えます
どれも**「何フレーム目か」を入れると値が決まる**だけの関数です。だから何度書き出しても同じ動画になります。
最後に Root.tsx にコンポジションとして登録します。
// 先頭の import に足す
import { LogoAnim } from "./LogoAnim/LogoAnim";

// <> … </> の中、ほかの <Composition> の並びに足す
<Composition
  id="BlogenistLogo"
  component={LogoAnim}
  durationInFrames={150}
  fps={30}
  width={1280}
  height={720}
/>
縮小して書き出したら止まった
ブログに載せるならフルHDは要らないので、最初は 1920x1080 で作って --scale で縮めようとしました。
npx remotion render BlogenistLogo out/blogenist-logo.mp4 --scale=0.6666667TypeError: The "height" prop passed to `stitchFramesToVideo()` must be an integer, but is 720.0000359999999.
at validateDimension (...\node_modules\remotion\dist\cjs\validation\validate-dimensions.js:15:15)
at prespawnFfmpeg (...\node_modules\@remotion\renderer\dist\prespawn-ffmpeg.js:77:38)1080 × 0.6666667 が 720 ぴったりにならず、縦の大きさが整数ではないと怒られました。笑
--scale=0.5 のように割り切れる値なら通りますが、素直にコンポジション自体を 1280x720 で作るほうが確実です。上の登録がその形になっています。
npx remotion render BlogenistLogo out/blogenist-logo.mp4+ out/blogenist-logo.mp4 234.4 kB
所要: 16 秒codec_name=h264
width=1280
height=720
nb_frames=150
duration=5.0000001280x720・150 フレーム・5秒、234KB です♪
ライセンスに注意
ひな形づくりの最後に、こんな一文が出ていました。
Remotion is free for teams of up to 3.
Adopting Remotion in your company? Visit https://www.remotion.dev/docs/license/pricing
Remotion は無料で使える範囲に条件があるライセンスです。個人や3人までのチームなら無料、それより大きい会社で使う場合は有料のライセンスが必要になります。
仕事で使う場合は、公式のライセンスのページを一度読んでおきましょう。
まとめ
| 項目 | 結果 |
|---|---|
| 必要なもの | Node.js だけ(18.18 以上) |
| プロジェクト作成 | npx create-video@latest --yes --hello-world my-video(約2分半) |
| 入ったバージョン | Remotion 4.0.545 |
| FFmpeg | 同梱(自分で入れなくてよい) |
| Chrome | 初回に自動で取得(131MB、展開後 303MB、node_modules の中) |
| 書き出し | npx remotion render HelloWorld out/HelloWorld.mp4(5秒の動画が18秒) |
| 静止画 | npx remotion still ... --frame=100 |
| 差し替え | --props=./props.json |
| ロゴのアニメ | 1280x720・5秒で 234KB(--scale は割り切れる値だけ) |
終わりに
コマンド1つでひな形ができて、そのまま mp4 まで出せるので、導入で詰まるところはほぼありませんでした。FFmpeg も Chrome も勝手に用意してくれるのは楽ですね♪
動画編集ソフトとはまったく違う作り方ですが、同じ型の動画をたくさん作りたい人や、React を書ける人には、とても相性のいい道具だと思います。
皆さんもぜひ、動画をコードで作る体験をしてみてはいかがでしょうか♪